Unlock the Full Potential of Your Canon C70
In this guide, we’ll walk you through six simple steps to master color calibration on your Canon Cinema EOS C70. By following our expert advice, we’ll ensure our footage pops with vibrant colors and stunning accuracy, elevating our filmmaking to the next level!
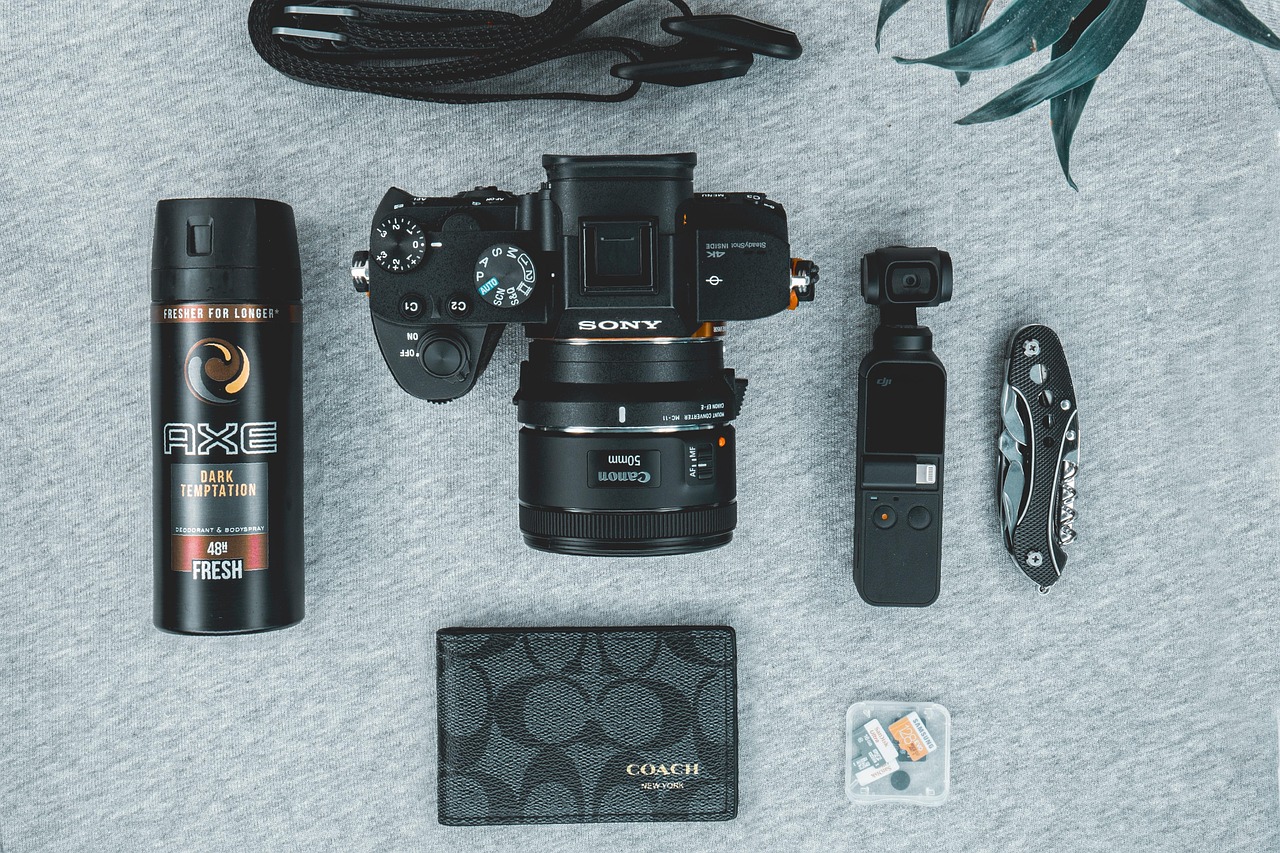
What We Need to Get Started
To ensure an efficient calibration process, we need the following materials:

Step 1: Understanding Color Calibration
Why Color Calibration is Essential for Stunning VisualsBefore diving in, let’s explore why color calibration is crucial in achieving professional-looking footage. Proper calibration ensures color accuracy, enhances consistency, and elevates our storytelling through visuals.
When we think about color calibration, envision a painter mixing colors on a palette. If we’re off by even a shade, the final canvas loses its impact. Similarly, an uncalibrated camera can distort our vision. By properly calibrating our Canon C70, we create a reliable foundation for our color grading process.
Now, let’s compare calibrated versus uncalibrated footage:
| Feature | Calibrated Footage | Uncalibrated Footage |
|---|---|---|
| Color Accuracy | True-to-life colors | Discrepancies in hues |
| Consistency | Uniform across scenes | Variation with lighting conditions |
| Post-Production Ease | Simplified color grading | Complicated correction needed |
With a solid grasp of color calibration’s importance, we’re ready to proceed!

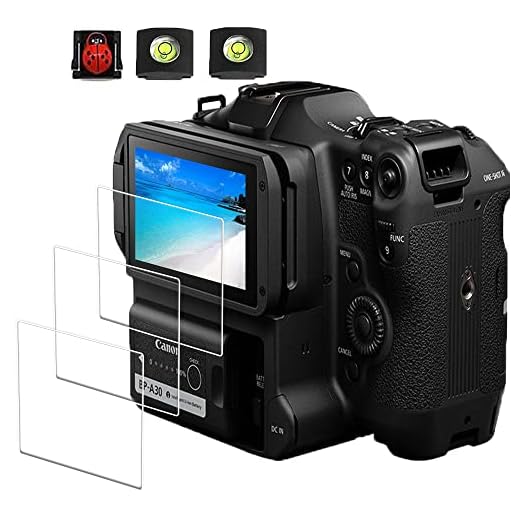
Step 2: Setting Up Your Canon C70
Getting Your Gear Ready for Color MagicNow, let’s configure our Canon C70 for optimal performance. Start by powering on the camera and navigating to the Menu. Here’s what we need to adjust:
- Resolution: Set the resolution to 4K for incredible detail.
- Frame Rate: Choose a frame rate that fits our project; 24 fps is ideal for cinematic feel, while 60 fps is excellent for smooth motion.
- Color Space: Select Canon Log 2 or Canon Log 3; these options are great for capturing a wide dynamic range.
Let’s remember, this foundation is critical for successful calibration. Avoid issues later on by double-checking every setting. For instance, shooting in a standard Rec. 709 color space may limit our options during post-production. By establishing these key configurations, we enhance our creative possibilities and ensure top-notch results!

Step 3: Calibrating Our Monitor
The Secret to Seeing True ColorsCalibrate our monitor to guarantee color fidelity! We can’t trust our eyes if our display isn’t accurately tuned. First, invest in reliable calibration software—many options exist, like DisplayCAL or CalMAN. Once installed, use the software to guide us through the calibration process.
Follow these steps:
- Connect a Calibration Device: Attach a colorimeter to our monitor.
- Launch the Software: Start the calibration application and follow its prompts.
- Set Target Values: Aim for a color temperature of 6500K and a gamma of 2.2.
- Run the Calibration: Allow the software to measure and correct our monitor’s colors.
- Save and Apply Settings: Once complete, save the profile for consistent use.
With our monitor calibrated, we’re ensuring that the colors we see are true, setting a solid foundation for our camera adjustments.

Step 4: Using Color Charts Effectively
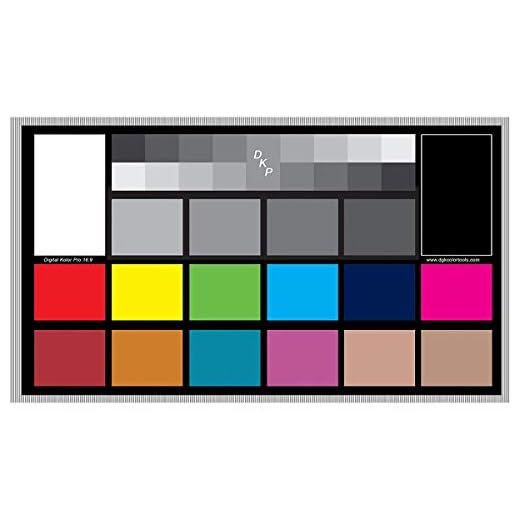
Unlocking the Power of Color Reference ToolsLet’s utilize color charts to create a baseline for our color accuracy! Color charts are essential tools in our calibration journey. Grab a high-quality chart, such as the X-Rite ColorChecker or Datacolor SpyderCHECKR.
Here’s how to use them:
- Place the Chart in the Scene: Position the color chart under the same lighting conditions we’ll be shooting in. Make sure it’s fully visible in the frame.
- Capture the Shot: Take a photograph that includes the color chart along with our subject. This reference will help us compare and adjust colors later.
- Refer to Color Charts: In post-production, use software like Adobe Premiere Pro or DaVinci Resolve to match the colors from the chart. This ensures consistency across our footage.
By accurately referencing a color chart, we enhance our color grading process and ensure our footage looks vibrant and true to life.
Step 5: Fine-Tuning Camera Settings
Achieving Perfection, One Setting at a TimeNow comes the exciting part! We’ll delve into the Canon C70’s color settings, adjusting parameters like saturation, contrast, and gamma to achieve the desired look for our footage.
Follow these steps:
- Access the Color Settings: Navigate to the Menu, and choose the Color Matrix option.
- Adjust Saturation: Increase saturation to make colors pop. Start with +5 and fine-tune based on our visual preference.
- Tweak Contrast: Set contrast to our liking; a moderate setting (around +3) often gives a balanced look without losing detail.
- Set Gamma: Choose a gamma curve that fits our project needs. For cinematic styles, select Cine gamma, which offers rich shadows and highlights.
By methodically tweaking these settings, we ensure our Canon C70 captures vibrant, cinematic imagery, bringing our creative vision to life!
Step 6: Testing and Refining Our Setup
Trial and Error: The Path to Color MasteryFinally, let’s test our settings in real-world scenarios. This is where the magic happens! We’ll shoot in various lighting conditions—indoors, outdoors, and at different times of day—to see how our calibration holds up.
Here’s what to do:
- Capture Sample Footage: Record clips under different environments. Pay attention to how colors render in diverse lighting.
- Review Footage: Examine our recordings closely on the calibrated monitor. Look for any color inconsistencies or shifts.
- Make Adjustments: If we notice discrepancies, revisit our camera settings (saturation, contrast, etc.) and modify them as needed.
- Re-test: Take additional samples after every adjustment to ensure we’re progressing toward our ideal color balance.
By meticulously testing and refining our setup, we can achieve stunning visuals that stay true under a variety of conditions!

Congratulations, Color Calibration Masters!
With these six easy steps, we can confidently master color calibration with our Canon C70, enhancing our filmmaking skills and ensuring stunning visuals in every project. We encourage you to give it a try, share your results, and let’s elevate our craft together!


I loved this guide! But I have a question—what’s the best lighting to use while calibrating? I didn’t see much about lighting conditions here. 🤔 Any tips?
Thanks for the tips! I’ll definitely keep that in mind! 🌞
Good question, Olivia! Ideally, you want consistent lighting. Natural daylight is great but avoid direct sunlight. Soft diffused light works well too!
Yeah, lighting can really mess up your calibration if you’re not careful! I learned that the hard way. Stick with something stable!
I mean, this is cool and all, but I feel like it’s a bit simplified for beginners. Like, what if someone has no prior experience? Some extra tips wouldn’t hurt. But hey, I guess if you’re already familiar with the basics, this is a nice refresher!
Great point, Lewis! We aimed for a straightforward approach, but we’ll consider adding more details in the future! Any specific tips you think would help beginners?
I kind of get what you mean. Maybe a glossary of terms would be useful for those just starting out? But I found the steps solid overall.
Wow, this guide is super helpful! 🎉 I’ve been struggling with color calibration for ages, and the steps are so clear. I particularly liked the part about using color charts; it’s really opened my eyes to how much they can help! Can’t wait to try these out on my next project! Thanks a ton!
I totally agree! The color charts were a game changer for me too. I didn’t realize how much of a difference they could make until I started using them!
Thanks for your feedback, Sara! So glad you found it helpful! Let us know how it goes with your next project! 😊
Just tried the setup steps, and wow, my footage looks so much better already! I didn’t think color calibration would make this big of a difference. I’m stoked! 🎥✨ Thanks for breaking everything down so clearly! Can’t wait for the next filming session!
Sure, Katie! Just take your time with each step. It’s all about trial and error, and don’t be afraid to experiment!
That’s awesome to hear, Timothy! Happy to know you’re seeing results! Keep us posted on your next project!
That’s really encouraging, Tim! I’m still trying to wrap my head around this whole thing. Any tips for someone just starting?
I liked the part about fine-tuning camera settings! I always thought I had to get it right the first time, but now I see it’s okay to adjust as you go. Still, I wish there were more visuals in the guide to help clarify some of the settings. Just my two cents! 😊
Totally feel you on that! Sometimes a picture really is worth a thousand words! I’ll be waiting for the visuals!
Thanks for your input, Megan! We’ll definitely consider adding visuals in future updates. It’s a great suggestion!