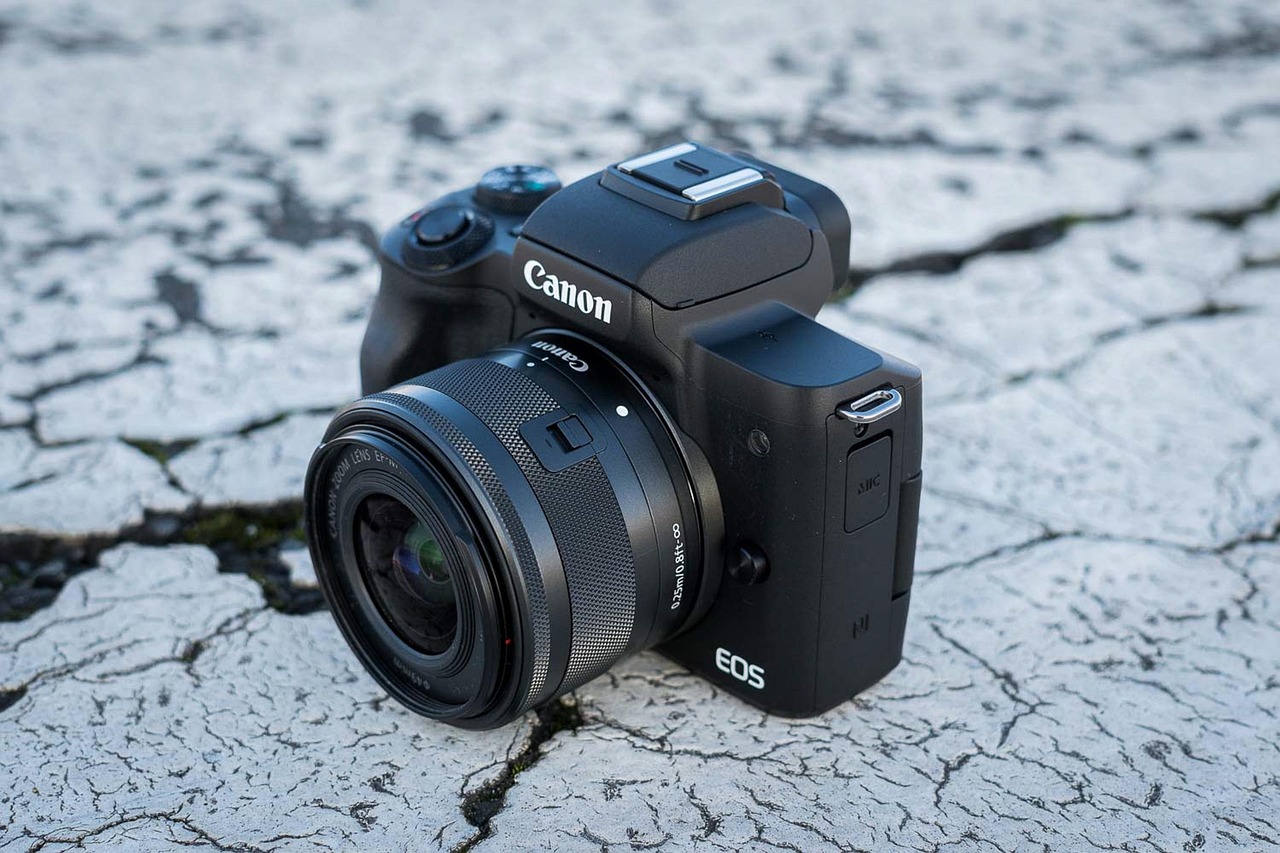
Unlock Your Canon EOS R’s Potential!
Discover how to enhance our Canon EOS R’s capabilities with LUTs and presets in just six easy steps. We will elevate our video and photo editing game to create stunning, professional-quality content. Let’s dive in and unlock the full potential of our amazing camera!
What Do We Need?
Before we dive in, let’s gather our essentials. We’ll need:
Now that we have our materials ready, let’s enhance our Canon EOS R!

Step 1: Understanding LUTs and Presets
What Exactly Are LUTs and Presets, and Why Should We Care?Let’s demystify LUTs and presets. LUTs (Look-Up Tables) are powerful tools that help us transform our footage’s colors and tones quickly. They essentially map one set of colors to another, allowing us to enhance or change the mood of our images effortlessly.
Presets, on the other hand, are pre-defined adjustments for our editing software that can include LUTs, color grading, and various effects—all tailored to achieve a specific look we love.
Comparison Table: LUTs vs. Presets
| Feature | LUTs | Presets |
|---|---|---|
| Purpose | Color transformation | Comprehensive adjustments |
| Customization | Limited | Highly customizable |
| Application | Primarily for color | Includes multiple settings |
By understanding these tools, we empower ourselves to create unique, stunning visuals that truly stand out.

Step 2: Choosing the Right LUTs and Presets
Not All LUTs Are Created Equal – Find Your Perfect Match!Select LUTs and presets that resonate with our style and the aesthetic we want to achieve. To kickstart our journey, explore these avenues for quality options:
Evaluate LUTs and presets by considering factors such as:
By carefully selecting LUTs and presets that fit our vision, we set the stage for captivating visuals that showcase our creativity!

Step 3: Importing LUTs into Our Editing Software
Easy Peasy – Let’s Bring Those LUTs to Life!Import our chosen LUTs into our editing software to harness their full potential. Let’s follow these clear steps to make them ready for our Canon EOS R footage:
Open the Editing Software: Launch your favorite editing program, such as Adobe Premiere Pro or Final Cut Pro.
Access the LUTs Section:
- In Adobe Premiere Pro, navigate to the Color workspace and find the Lumetri Color panel.
- In Final Cut Pro, go to the Effects Browser and search for LUT under Effects.
Import the LUT:
- For Premiere Pro: Click on the Input LUT dropdown, select Browse, and locate our downloaded LUT file.
- For Final Cut Pro: Drag our LUT file directly from Finder into the LUT section of the Inspector.
Confirm: Ensure our LUT is visible, indicating it’s successfully imported and ready for use.
By correctly importing our LUTs, we can easily access them to enhance our visual storytelling effectively!
Step 4: Applying LUTs to Our Footage
Transform Our Videos with Just a Click – It’s Magic!Apply LUTs to our footage to create stunning visual experiences that resonate. Let’s walk through the process step-by-step:
- Select the Clip: Begin by choosing the footage we want to enhance in our editing timeline.
- Locate the Effects Controls:
- In Adobe Premiere Pro, use the Lumetri Color panel.
- If using Final Cut Pro, find the Inspector where we can adjust effects.
- Add the LUT:
- In Premiere Pro, click on the Creative tab and select our LUT from the Look dropdown menu.
- In Final Cut Pro, apply our chosen LUT directly to the clip via the LUT effect.
- Preview the Transformation: Watch how our footage morphs! Notice how colors brighten or shadows deepen, enhancing the overall mood.
For example, applying a cinematic LUT can elevate a simple scene, making it feel dramatic and rich.
By mastering the application of LUTs, we can maximize the emotional impact of our storytelling!

Step 5: Fine-Tuning Your Looks
One Size Doesn’t Fit All – Customize for Perfection!Adjust our footage after applying LUTs to perfect our cinematic vision. Here’s how we can effectively fine-tune our looks using color correction tools:
- Optimize Exposure: Begin by adjusting the exposure levels. If our image seems too dark or too bright, use the Exposure slider to achieve balanced brightness.
- Refine Contrast: Increase or decrease contrast to add depth. A higher contrast can bring vibrancy, while lower contrast can create a softer, dreamy look.
- Tweak Color Balance: Adjust the shadows, midtones, and highlights using the color wheels or sliders. For example, adding warmth to shadows can impart a cozy feel.
- Sharpen Details: Use the sharpen feature sparingly to enhance clarity without introducing noise. This brings out fine details in our footage.
By fine-tuning these elements, we enhance our LUT’s effectiveness and create a captivating, polished look!

Step 6: Saving and Sharing Your Presets
Don’t Keep Your Masterpieces to Ourselves – Share the Love!Save our newly crafted presets to streamline our workflow and maintain consistency in future projects. Here’s how to efficiently save and share our custom looks:
Access the Save Preset Option:
- In Adobe Premiere Pro, right-click on our adjusted clip in the Effect Controls panel and select Save Preset.
- In Final Cut Pro, click on the LUT effect in the Inspector, and choose Save Effect Preset.
Name Our Preset: Give our preset a descriptive name to easily identify its style later.
Organize and Share: Export our presets by exporting them under the software’s export settings, or share them directly with fellow creators via cloud links or USB drives.
Experiment with Feedback: Encourage others to use our presets and provide feedback for enhancement.
By saving and sharing our presets, we not only enhance our creative process but also contribute to our community!
Let’s Elevate Our Canon EOS R Experience!
By following these six easy steps, we can elevate our Canon EOS R footage to new heights with LUTs and presets. Let’s give it a try, share our creative results, and impress ourselves and our audience. Together, we can transform our vision into stunning visuals!


Anyone else love experimenting with their own LUTs? It’s like a mix of science and art, and I’m here for it!
That’s the spirit, Lucas! Creativity is key when it comes to color grading!
Right? I’ve made a few custom ones that I’m proud of! It’s so rewarding.
I’ve just started using LUTs and honestly, I’m a bit overwhelmed. Do you really need them for every video? Can’t you just do color grading manually? 🤷♂️
I think it depends on the project! Sometimes you just want quick edits, and LUTs are perfect for that.
That’s a valid point, Ryan. LUTs are just a starting point; manual grading can give you more control!
I love the way my videos look with LUTs! They really add that professional touch. Just a heads up though, don’t overdo it! Too much can be a bad thing. 😉
Exactly! Balance is key. Glad you’re enjoying the look!
So true! I’ve seen some videos that are just way too saturated with color. It’s like, chill out! 😅
Just finished the guide! Can’t wait to get started on my next video. Thanks for the easy-to-follow steps! 🙌
You’re welcome, Zoe! Happy editing!
Good luck! Let us know how it goes!
This is a must-read for any Canon R user! I can’t wait to start playing around with different looks. I just wish you had included some examples of what the LUTs can do. That would be epic!
Thanks, Olivia! Great suggestion—I’ll consider adding examples in future updates!
I tried following this guide, but I got stuck on Step 4. Applying LUTs seems harder than it should be! Is there a trick to it?
I usually apply it in the color correction panel. That works for me!
It can be tricky! Make sure you’re applying it to the right layer in your editing software.
Wow, this guide is super helpful! I’ve always wanted to make my Canon EOS R footage pop, and LUTs seem like the way to go. I just need to figure out which ones fit my style! 🤔 Anyone has recommendations?
Glad you found it helpful, Emily! For recommendations, check out the ones listed in Step 2 of the guide.
I love the Teal and Orange LUT! It gives such a nice cinematic feel. 😍
I’m seriously considering getting the Canon EOS R just for the LUT capabilities. This guide is making me want it more!
Totally worth it! The quality is next level.
You won’t regret it! The EOS R is fantastic for video.
This guide is a game changer for my shoots! I never knew how much LUTs could enhance my work. Can’t wait to share my new presets!
So excited to hear that, Noah! Don’t forget to save and share your presets!
This guide is awesome, but can you explain what LUT stands for? I keep seeing it everywhere but never knew what it meant!
I was wondering the same thing! Thanks for clearing that up.
Great question, James! LUT stands for Look Up Table. It’s basically a filter for your footage!
Okay, but does anyone else find importing LUTs kinda confusing? I swear I messed it up like three times last night. 😂 What am I missing?
It can be tricky at first, but once you get the hang of it, it’s super easy! Check Step 3 for more details.
You’re not alone, Jake! I had the same issue. Make sure you’re in the right workspace in your editing software! It helps a lot.
I wish I had read this before my last project! I could’ve saved so much time. Anyway, I’m diving into these steps this weekend!
Exactly! I always learn something new after I finish a project. 😂
Better late than never! You’ll love the results!