
Unlock Seamless Audio-Video Harmony
In this guide, we will walk you through how to effortlessly sync your external recorder with mirrorless cameras in just 6 steps, ensuring your audio is as crisp as your visuals. Let’s get ready to elevate our film projects!
What You Need to Get Started
To effortlessly sync our external recorder with mirrorless cameras, we’ll need the following:

Step 1: Choose the Right Gear
The Right Tools Make All the Difference!Before we can sync, we need to select an external recorder that’s compatible with our mirrorless camera. Let’s explore some top options and why they matter!
- Identify Compatibility: Ensure the recorder can connect to your specific mirrorless camera model. Most cameras use a 3.5mm input or HDMI output.
- Consider Audio Quality: Look for recorders that offer high-resolution audio. For instance, models like the Zoom H6 or Tascam DR-70D provide excellent sound quality with multiple input options.
- Get Creative with Features: Some recorders come with built-in effects or mixing capabilities. The Zoom F4 is fantastic for multi-track recordings, while the Rode Wireless GO offers a wireless solution.
Here’s a quick comparison of popular recorders:
| Recorder | Audio Quality | Input Options | Price Range |
|---|---|---|---|
| Zoom H6 | High | XLR/3.5mm | $$ |
| Tascam DR-70D | High | 3.5mm/XLR | $$ |
| Zoom F4 | Very High | XLR/3.5mm | $$$ |
| Rode Wireless GO | High | Wireless (Lavalier) | $$ |
Choosing the right gear will set us up for seamless audio-video harmony in our projects!
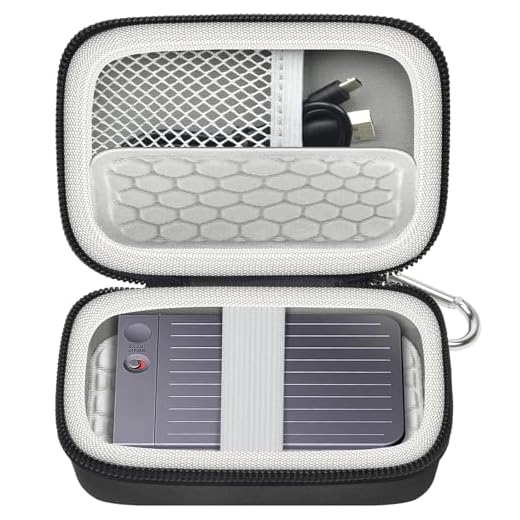
Step 2: Connect Your Devices
Cables Aren’t Just for Charging – They’re Essential!Now that we’ve chosen the right gear, let’s focus on connecting our external recorder to the mirrorless camera. A solid connection is essential for flawless audio capture, so let’s get wired up!
- Use the Right Cable: Start with a high-quality 3.5mm TRS cable or HDMI cable, depending on your devices. Most mirrorless cameras feature a 3.5mm microphone input.
- Plug It In: Insert one end of the cable into the output jack on your external recorder. Connect the other end to the input of your camera.
- Secure Your Connection: Ensure both ends are snugly fitted to prevent any audio dropout during recording.
By correctly connecting our devices, we’re setting the stage for impeccable sound to elevate our visual storytelling. Now, let’s move on to setting up the external recorder!

Step 3: Set Up Your External Recorder
Master the Settings for Perfect Sound!Configuring our external recorder settings is crucial. Let’s delve into the best settings for various recording environments to ensure we capture high-quality audio.
- Choose Your Recording Format: Select a high-quality format such as WAV for lossless audio. This choice preserves the integrity of our sound, making it easier to sync later.
- Set Appropriate Gain Levels: Adjust the gain settings on the recorder to avoid distortion. A good rule of thumb is to aim for levels around -12dB to -6dB. This creates headroom for unexpected sound spikes.
- Enable Limiters: If available, activate the limiter function to prevent audio clipping during loud moments. This ensures that we capture clear dialogue and sound effects without peaking.
- Monitor with Headphones: Use headphones to test our setup. Listening in real-time allows us to catch any potential issues before we hit record.
By carefully setting up our external recorder, we optimize the audio quality that aligns perfectly with our visual story. Let’s move on to the configuration of our mirrorless camera!

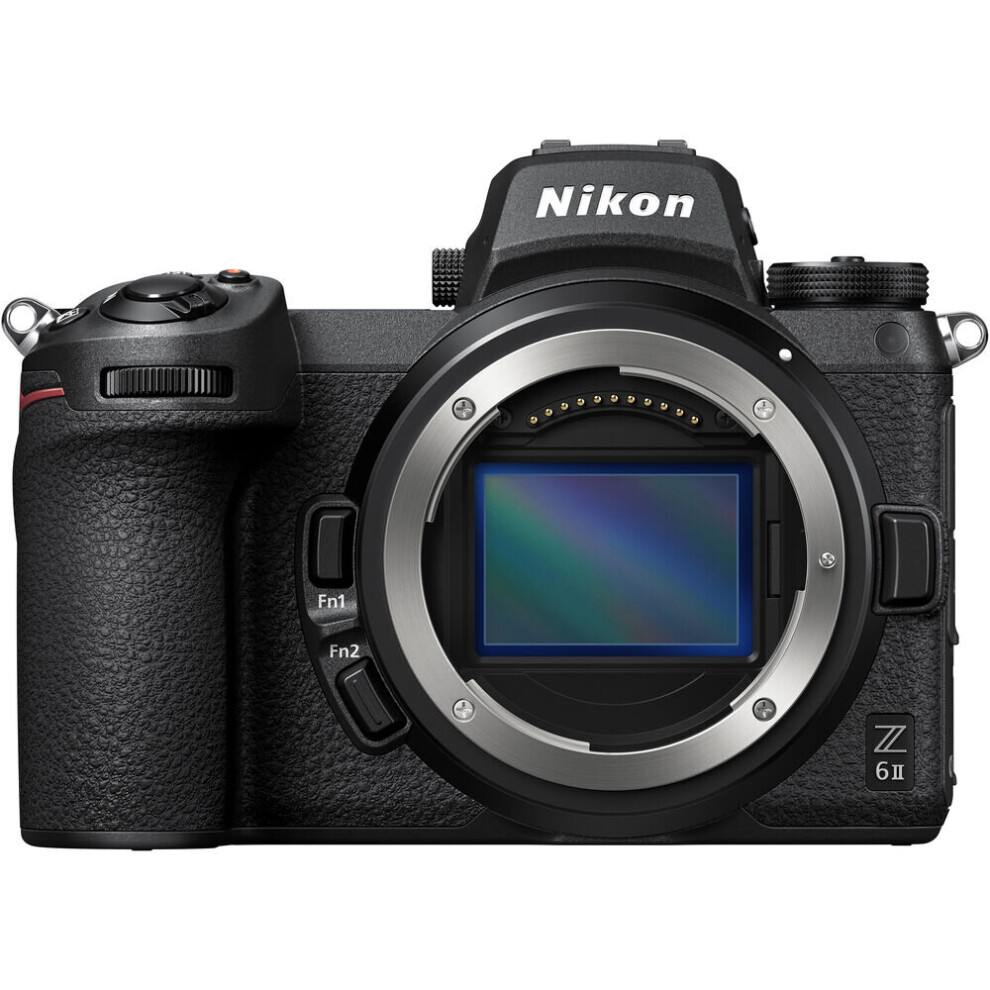
Step 4: Configure Your Mirrorless Camera
Get Ready to Capture – Adjust Your Settings!Now, we’ll adjust the mirrorless camera settings to work harmoniously with our external recorder. This step is vital for achieving perfect audio and video sync.
- Set Audio Input Source: Access the camera menu and navigate to the audio settings. Choose the external microphone as the primary source—this ensures our recorder’s audio is captured.
- Adjust Recording Levels: Set the input levels in your camera. Keep them lower than the external recorder’s gain settings, ideally around -18dB, to prevent distortion during recording.
- Deactivate Automatic Gain Control (AGC): Turn off AGC if available. This feature can introduce unwanted noise by adjusting levels automatically, disrupting our clean audio flow.
- Test Video Frame Rate: Ensure the video frame rate is set to match our project settings, usually 24, 30, or 60 fps. Consistency is crucial for smooth synchronization later.
By properly configuring our mirrorless camera, we pave the way for seamless audio-video integration. Let’s get ready for a test recording!
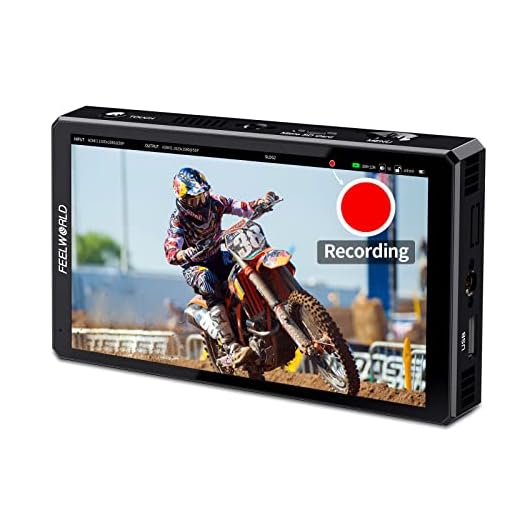
Step 5: Conduct a Test Recording
Why Guess When You Can Test?Let’s do a quick test recording to check our setup. This step helps us troubleshoot any issues before we start our main recording, ensuring a smooth process.
- Hit Record: Start both the external recorder and the mirrorless camera simultaneously. This allows us to capture audio and video in sync.
- Perform a Simple Action: Engage in a simple action, like speaking a few lines or clapping. This generates clear audio and a visual cue for syncing later.
- Monitor Levels: Watch the audio levels on the recorder and observe the camera’s display for any errors or clipping.
- Review the Footage: After stopping both devices, playback the recordings to ensure they are clear and appropriately synchronized.
By conducting this test, we ensure that both our audio and video components work together harmoniously before our main recording.

Step 6: Syncing in Post-Production
Turn Chaos into Harmony with Simple Techniques!Now that we’ve completed our recordings, let’s effortlessly sync the audio and video in post-production. Here’s how we can achieve that using popular software:
Choose Your Editing Software: Use reliable software like Adobe Premiere Pro, Final Cut Pro, or DaVinci Resolve. Each offers tools for precise syncing.
Import Your Files: Load both the video and audio files into the software timeline.
Align Tracks with Claps: Look for the visual bump in the audio waveform where the clap occurred. Line it up with the corresponding video frame.
Use Sync Features: Employ built-in syncing tools if available. For example, in Premiere Pro, select both tracks, right-click, and choose “Synchronize”.
Check Sync Accuracy: Play back the clips to ensure they are perfectly aligned. Adjust as needed for flawless harmony.
By following these steps, we can efficiently sync our external recorder audio with our mirrorless camera video, ensuring stellar production quality!
Ready, Set, Record!
By following these 6 simple steps, we can effortlessly sync our external recorder with mirrorless cameras, enhancing our audio-visual projects. Now that we’re equipped with the knowledge, what incredible stories will we capture together?

Step 5 was a game changer for me. I never thought to test the recording like that before! My last video had such bad audio. Thanks for the tip!
Right? Testing is key! I had a similar issue before, and now I always do it.
Happy to hear that, Ethan! Testing really helps avoid those last-minute surprises!
I think the article is great, but I wish you had included some troubleshooting tips. Like, what if my devices don’t connect? 😩
Yeah, that would be super helpful. I had issues connecting mine at first too.
Great suggestion, Charlotte! I’ll consider adding a troubleshooting section for future guides.
I followed all the steps, and it worked like a charm! But I still have no idea what I did wrong last time. 🤷♂️ Glad I found this guide!
Awesome, James! Sometimes it just takes a little practice. Keep at it!
Same here! I’ve been struggling with syncing for ages. This guide helped me finally get it right!
I wasn’t sure I’d need an external recorder, but wow, the audio difference is insane! Thanks for the push! This guide rocks! 🎥
So glad you found it useful, Aiden! The audio is often overlooked but makes a huge difference.
Right? I thought I could just use the camera mic. But after trying it, I’m a convert!
Honestly, this is like a breath of fresh air! Finally someone explains it without all the jargon. Now I just need to get my gear sorted!
For real! Some guides leave me more confused than before! This one is spot on.
Thanks, Mason! We aimed for clarity. Let us know if you need gear recommendations!
Wow, this guide is super helpful! I struggled for ages trying to figure out how to sync my recorder with my new mirrorless camera. The step-by-step approach makes it so easy to follow. I actually managed to get it all set up in no time! 😄 Thanks for sharing!
Thanks for the feedback, Liam! Let us know if you have any questions while recording!
Glad it worked for you! I’ve been meaning to try this, but I keep putting it off. Maybe this weekend! 🤞
Is there any specific gear you recommend for beginners? I’m not ready to drop a ton of cash yet. 💸
Check out some of the more affordable brands. You don’t need to go all out initially!
Definitely! I can share a list of budget-friendly gear that works great for beginners.
As a total newbie, I felt overwhelmed at first. But this guide made it manageable. I still have questions, but I think I’ll get there!
It’s a learning curve for sure! Just keep practicing, and it’ll get easier!
You’re doing great, Sophia! Feel free to ask any questions you have!
I feel like there’s so much tech involved. I just want to shoot videos without the hassle! Is there an easier way? 🤔
I get you, Oliver! But once you set it up, it’s smooth sailing! Trust me, it’s worth it for the sound quality! 🎤
Honestly, it’s not that bad! Just take it step by step. You’ll be a pro in no time!
Totally understand, Oliver! It can seem overwhelming, but it becomes second nature after a few tries.