
Solar panels keep popping up on rooftops everywhere and their popularity is skyrocketing because the average American homeowner now saves over $1,000 each year after switching to solar. That sounds like easy money, right? Most people think getting started is a headache and worry they’ll mess up the installation or miss out on those big savings. The truth is the smartest solar projects actually start long before a single panel ever touches your roof.
Table of Contents
- Step 1: Assess Your Energy Needs And Roof Space
- Step 2: Choose The Right Solar Panel System
- Step 3: Obtain Necessary Permits And Approvals
- Step 4: Install The Solar Panel System
- Step 5: Connect The System To Your Electrical Grid
- Step 6: Monitor And Verify Your Solar Energy Output
Quick Summary
| Key Point | Explanation |
|---|---|
| 1. Assess energy needs from utility bills | Review your past year’s utility bills to understand monthly energy consumption and plan accordingly for solar panel installation. |
| 2. Evaluate roof space for solar potential | Ensure your roof faces the right direction, is free of shade, and has enough space for solar panels before installation. |
| 3. Choose appropriate solar panel type | Select from monocrystalline, polycrystalline, or thin-film panels, considering efficiency, budget, and specific energy requirements. |
| 4. Complete necessary permits and approvals | Contact local authorities to gather required documentation and ensure compliance with building and utility regulations for installation. |
| 5. Monitor system performance regularly | Use digital platforms to track energy production and conduct physical inspections to maintain efficiency and identify issues early. |
Step 1: Assess Your Energy Needs and Roof Space
Before diving into solar panel installation, understanding your home’s unique energy landscape is crucial. This initial assessment determines the size, type, and number of solar panels you’ll need to effectively power your home. The goal is to create a personalized solar strategy that maximizes energy production and minimizes installation costs.
Start by examining your current electricity consumption. Review your utility bills from the past 12 months to calculate your average monthly energy usage. Look for the kilowatt hours (kWh) total, which provides a comprehensive view of your household’s energy demands. Seasonal variations matter: winter months might show different consumption patterns compared to summer, so analyze each month’s data carefully.
Next, evaluate your roof’s solar potential. Not all rooftops are created equal when it comes to solar panel installation. Ideal solar roof surfaces have several key characteristics. They should face south or southwest in the United States, with minimal shade from trees, chimneys, or surrounding buildings. The roof’s pitch also plays a significant role in solar panel efficiency. Roofs with a 30-degree angle typically offer optimal solar panel positioning, though professional installers can work with various roof configurations.
Consider performing a quick preliminary assessment using online solar calculators. Check out our solar savings calculator to get an initial estimate of potential energy production and savings. These tools can provide rough estimates based on your location, roof characteristics, and energy consumption.
Measure your available roof space accurately. Most residential solar panels require approximately 15-20 square feet per panel, and a typical home might need 20-30 panels depending on energy requirements. Sketch a rough diagram of your roof, noting any potential obstructions like vents, skylights, or complex architectural features that might impact panel placement.
Professional solar assessment services can provide a more comprehensive analysis. These experts use specialized tools like solar pathfinders and infrared cameras to evaluate your roof’s solar potential with remarkable precision. While there’s a cost associated with professional assessment, the detailed insights can save you money in the long run by optimizing your solar panel system design.
Step 2: Choose the Right Solar Panel System
Selecting the optimal solar panel system represents a critical decision that impacts your home’s energy efficiency and long term financial savings. This step transforms your solar aspirations from theoretical potential into a concrete, functional energy solution. Explore the latest solar technology options to understand the current landscape of solar panel innovations.
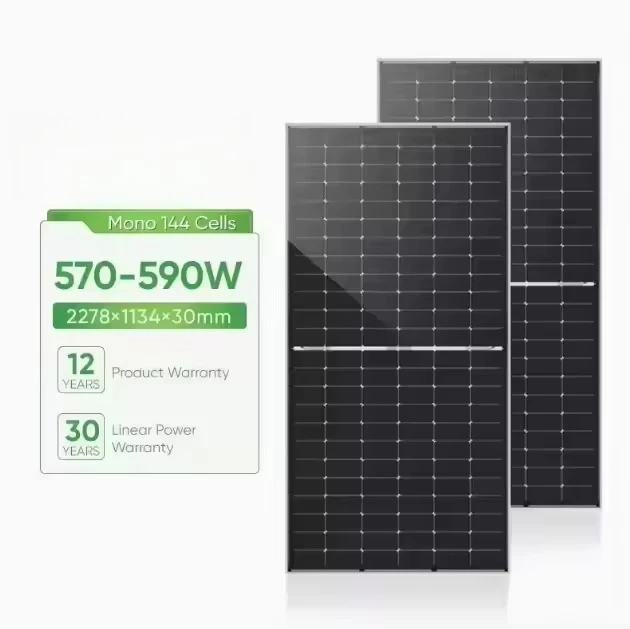
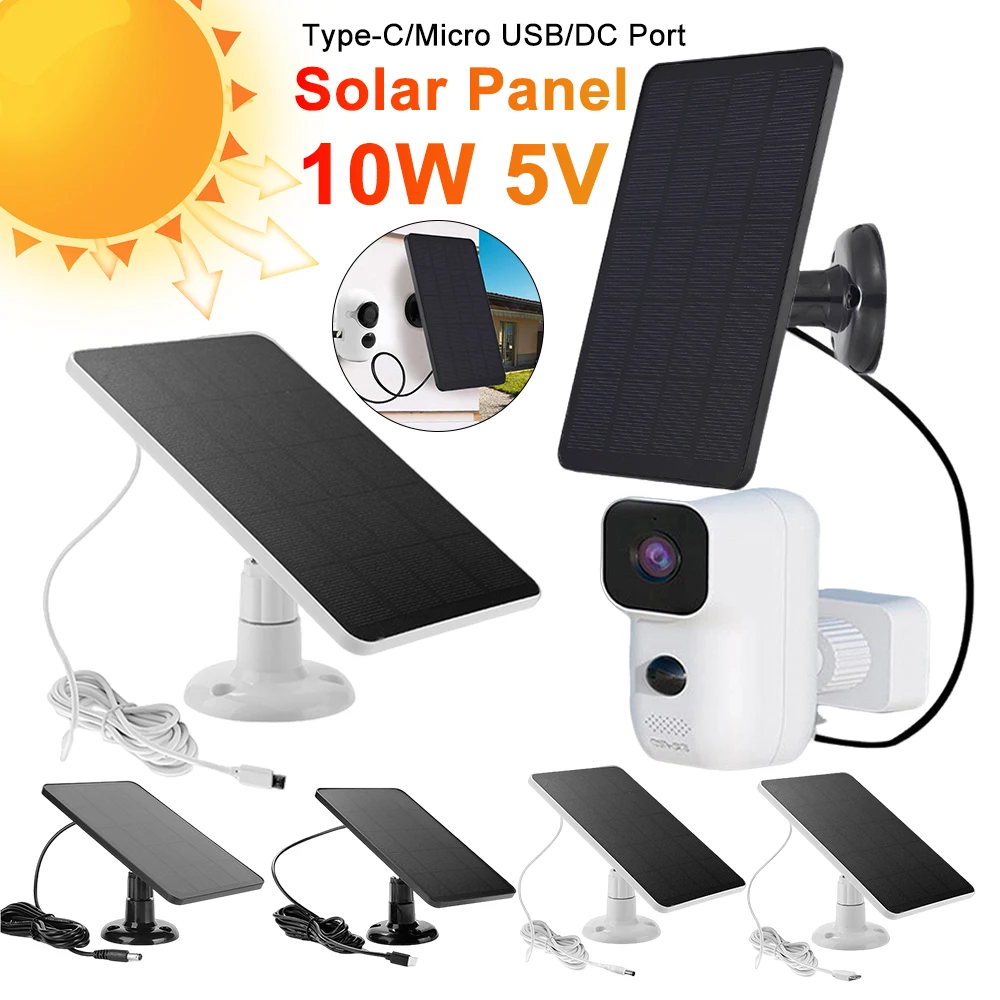
Three primary solar panel types dominate the residential market: monocrystalline, polycrystalline, and thin film. Monocrystalline panels offer the highest efficiency, featuring single crystal silicon structures that convert sunlight most effectively. They’re recognizable by their uniform dark color and sleek appearance. While these panels cost more upfront, they deliver superior performance, especially in limited roof spaces. Polycrystalline panels present a more budget friendly alternative, constructed from multiple silicon crystal fragments. These bluish panels are slightly less efficient but provide a solid balance between performance and cost.
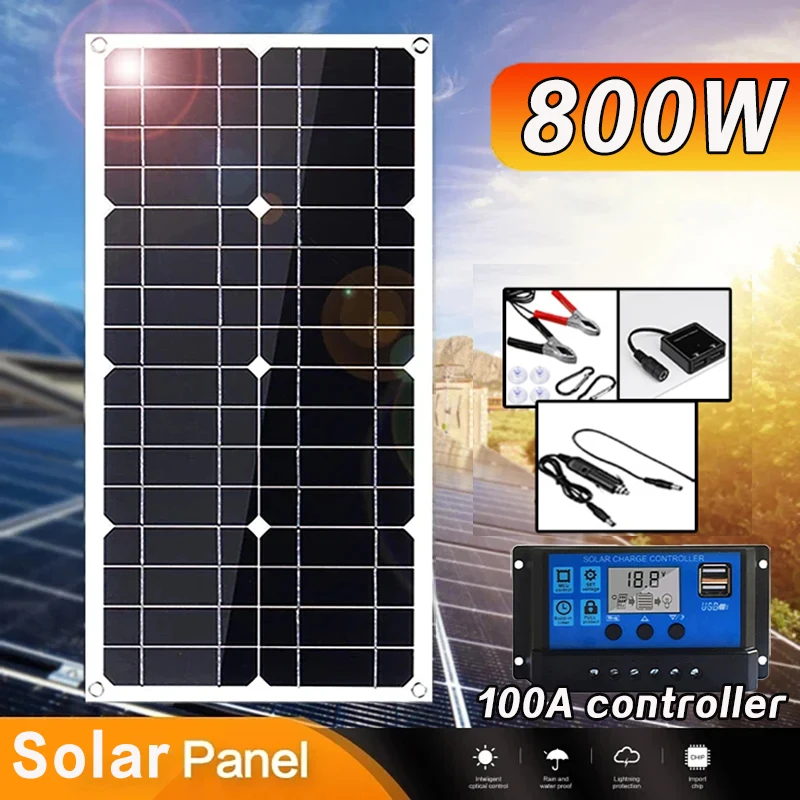
Consider your specific energy requirements when evaluating panel wattage and system configuration. Residential solar systems typically range from 3 to 10 kilowatts, with average homes requiring around 6 kilowatts to meet their electricity needs. Calculate your required system size by dividing your annual electricity consumption by the expected annual production of a single solar panel. This calculation helps determine the number of panels needed to fully support your household energy demands.
Quality and warranty represent crucial factors in solar panel selection. Reputable manufacturers typically offer 25 year performance warranties, guaranteeing panels will maintain at least 80% of their original efficiency after two and a half decades. Look for panels with robust build quality, corrosion resistance, and proven track records of durability. Investigate the manufacturer’s reputation, checking customer reviews, industry certifications, and independent performance assessments.
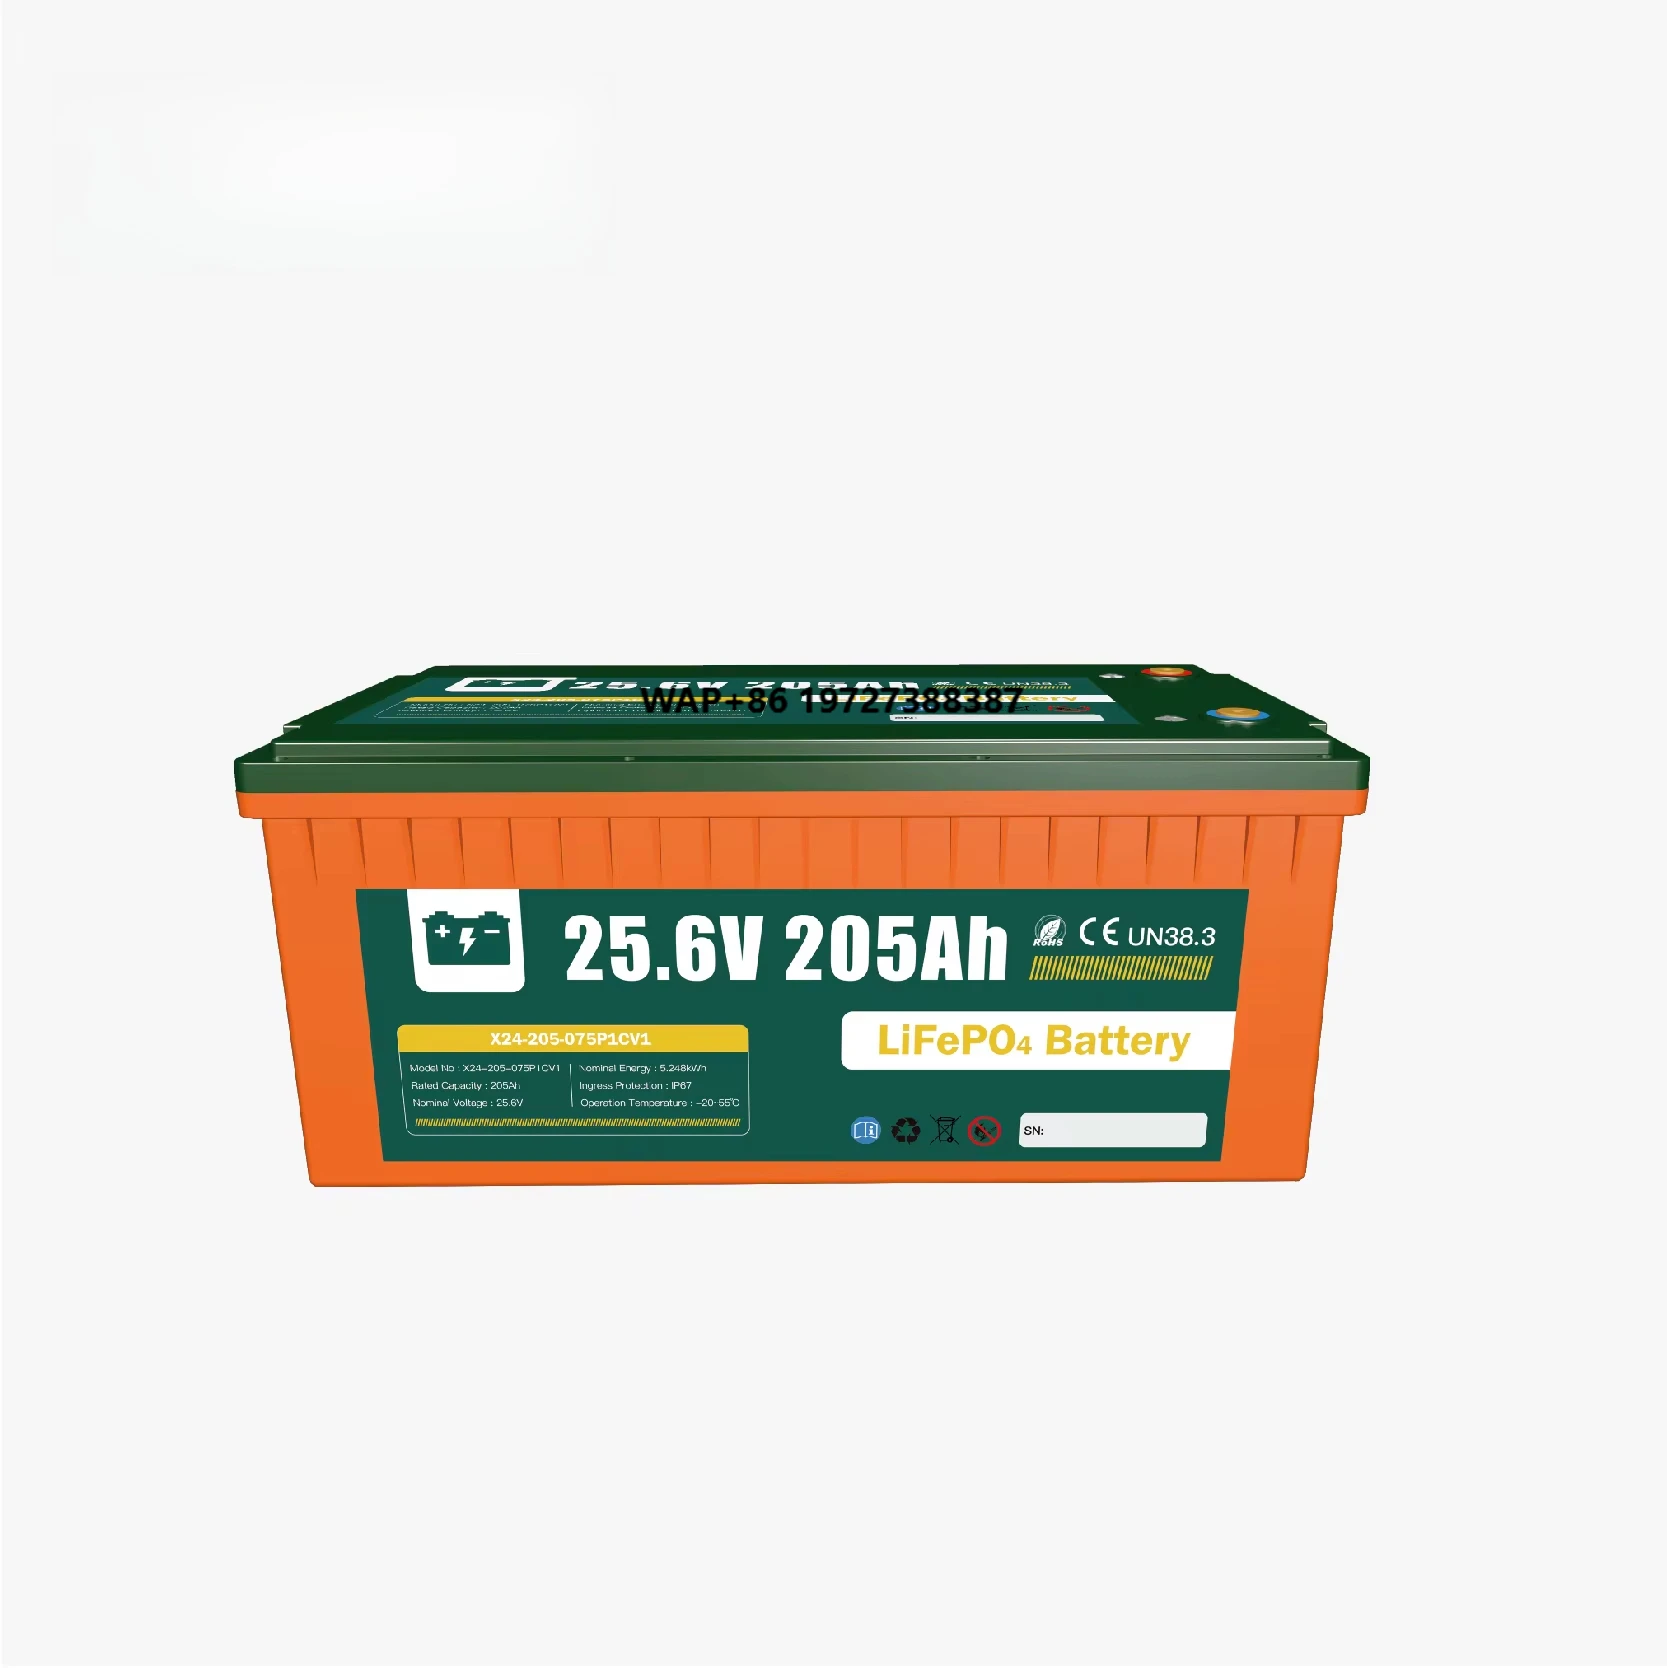
Budget considerations extend beyond initial panel costs. Factor in installation expenses, potential roof reinforcement, inverter systems, and battery storage options. While premium panels represent a significant upfront investment, they often deliver superior long term returns through enhanced energy production and reduced maintenance requirements. Some homeowners opt for hybrid systems combining different panel types to maximize efficiency and manage budget constraints.
Consult multiple solar installation professionals to receive comprehensive quotes and system recommendations.
Below is a quick comparison table outlining the main types of residential solar panels mentioned in the article, to help you select the best fit for your home.
| Solar Panel Type | Efficiency Level | Appearance | Cost | Typical Use Case |
|---|---|---|---|---|
| Monocrystalline | Highest | Uniform dark color | Highest | Limited roof space, maximum performance |
| Polycrystalline | Moderate | Bluish hue | Moderate | Budget friendly, larger roof areas |
| Thin Film | Lowest | Thin, flexible | Lowest | Specialized installs, large/irregular roofs |
| These experts can provide personalized assessments based on your specific roof characteristics, local climate conditions, and energy consumption patterns. Their expertise helps translate technical specifications into a tailored solar solution that meets your unique household needs. |
Step 3: Obtain Necessary Permits and Approvals
Navigating the regulatory landscape of solar panel installation requires patience, precision, and thorough preparation. This critical step ensures your solar project complies with local building codes, zoning regulations, and utility company requirements. Skipping or rushing through permit processes can result in costly delays, fines, or even mandatory system removal.
Local municipal requirements vary significantly across different jurisdictions. Begin by contacting your city or county building permit office to understand specific solar installation regulations. Most municipalities require detailed documentation including site plans, electrical diagrams, structural engineering assessments, and system specifications. These documents demonstrate that your proposed solar installation meets safety standards and will not compromise your home’s structural integrity.
Utility company approvals represent another crucial component of the permitting process. Many electric providers require formal interconnection agreements that outline how your solar system will connect to the electrical grid. Learn more about energy savings strategies to understand the broader context of solar integration. These agreements typically involve submitting technical specifications of your solar panel system, including inverter details, panel wattage, and expected energy production.
Homeowners associations (HOAs) can introduce additional complexity to solar panel installations. Some HOAs have specific aesthetic guidelines or restrictions on solar panel placement and appearance. Review your HOA’s bylaws carefully and submit a formal proposal that demonstrates how your solar installation will maintain neighborhood visual standards. Many states have solar access laws that prevent HOAs from unreasonably blocking residential solar projects, but navigating these regulations requires careful communication and documentation.
Prepare a comprehensive permit application package that includes:
- Detailed site survey with precise solar panel placement
- Electrical system modifications plan
- Structural roof assessment
- Manufacturer specifications for solar equipment
- Professional installation contractor credentials
Consider hiring a professional solar installation company experienced in local permitting processes. These experts understand municipal requirements and can significantly streamline the approval process. They often maintain relationships with local building departments and utility companies, which can expedite your permit approval.
Budget sufficient time for the permitting process. Depending on your location, obtaining all necessary approvals can take anywhere from two weeks to three months. Maintain open communication with local authorities, promptly respond to any requests for additional information, and keep detailed records of all submitted documents. Successful completion of this step means having a comprehensive set of approved permits that legally authorize your solar panel installation.
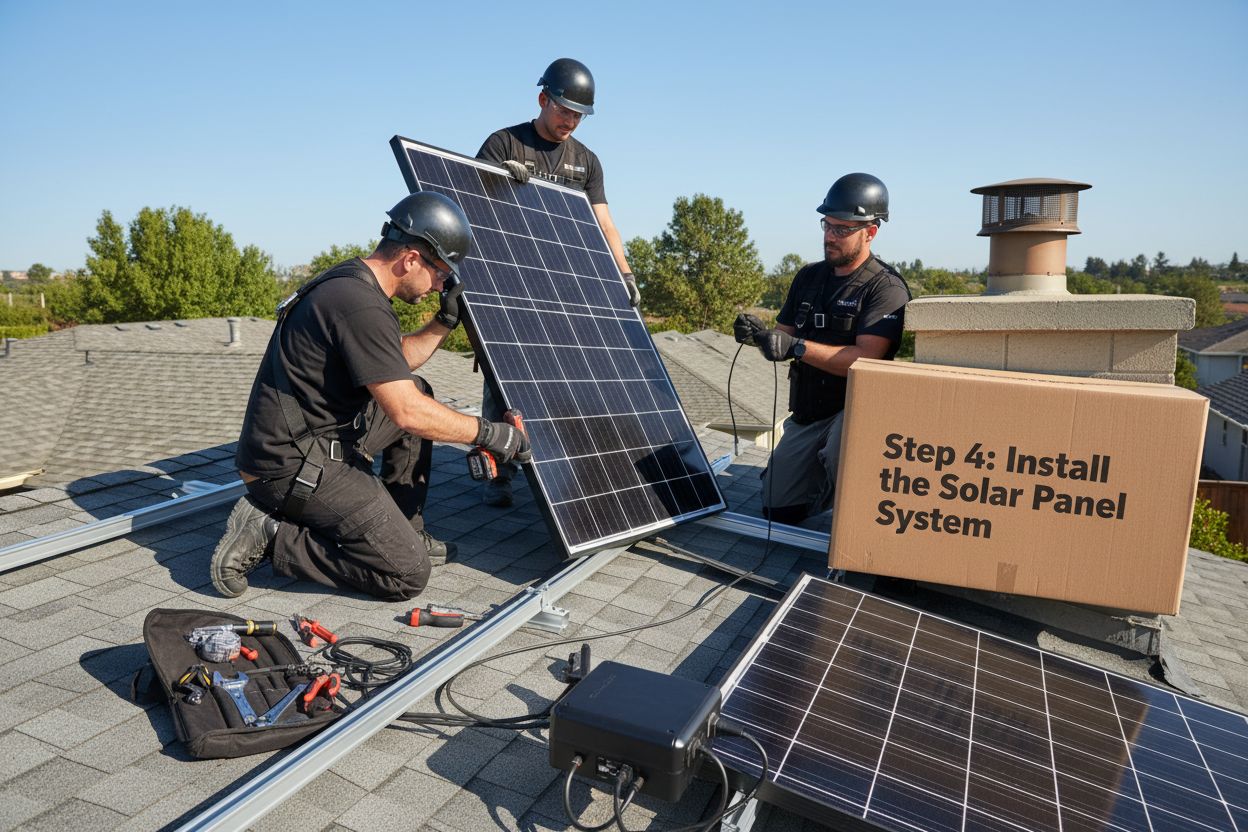
Step 4: Install the Solar Panel System
The solar panel installation process transforms your carefully planned design into a functional energy system. This critical phase requires precision, technical expertise, and meticulous attention to detail. While professional installation is strongly recommended, understanding the process helps you make informed decisions and ensure quality work. Explore cutting edge solar energy tips to complement your installation strategy.
Roof preparation represents the foundational step in solar panel installation. Before mounting any panels, professionals will conduct a comprehensive roof assessment, checking for structural integrity, repairing any existing damage, and reinforcing areas that will support panel weight. They’ll install mounting brackets designed to securely anchor panels while maintaining your roof’s weatherproofing. These mounting systems vary depending on roof material, with specialized attachments for asphalt shingles, metal roofing, and tile surfaces.
Electrical infrastructure forms the backbone of your solar system. Installers will set up the inverter, which converts direct current (DC) electricity generated by solar panels into alternating current (AC) electricity used by household appliances. The inverter placement is crucial, typically installed in a cool, dry location like a garage or utility room. Complex electrical work involves connecting the inverter to your home’s main electrical panel, a task requiring licensed electrician expertise to ensure safe, code compliant connections.
Panel mounting follows a precise geometric strategy. Technicians will align panels to maximize sun exposure, typically facing south in the Northern Hemisphere with a tilt angle matching your geographic latitude. Each panel gets carefully positioned and secured, with microinverters or power optimizers installed to enhance energy production. Specialized mounting hardware allows for minimal roof penetration, preserving your roof’s structural integrity.
Key installation considerations include:
- Precise panel spacing to prevent shading
- Secure electrical connections
- Proper grounding of the entire system
- Weatherproofing all mounting points
- Minimal disruption to existing roof structures
After physical installation, comprehensive system testing becomes critical. Installers will conduct multiple diagnostic checks, verifying electrical connections, measuring voltage output, and ensuring seamless integration with your home’s electrical grid. They’ll calibrate monitoring systems that allow you to track energy production in real time, providing insights into your solar system’s performance.
Final verification involves a thorough inspection by local building authorities.
 They’ll review the installation, checking compliance with electrical codes, structural requirements, and safety standards. Once approved, your system receives official permission to operate, marking the transition from installation project to functional renewable energy generator.
Step 5: Connect the System to Your Electrical Grid
Connecting your solar panel system to the electrical grid transforms your home into a dynamic energy production and consumption hub. This step bridges the gap between your newly installed solar infrastructure and the broader electrical network, enabling seamless energy exchange and potential financial benefits. Calculate your potential solar savings to understand the financial implications of grid connection.

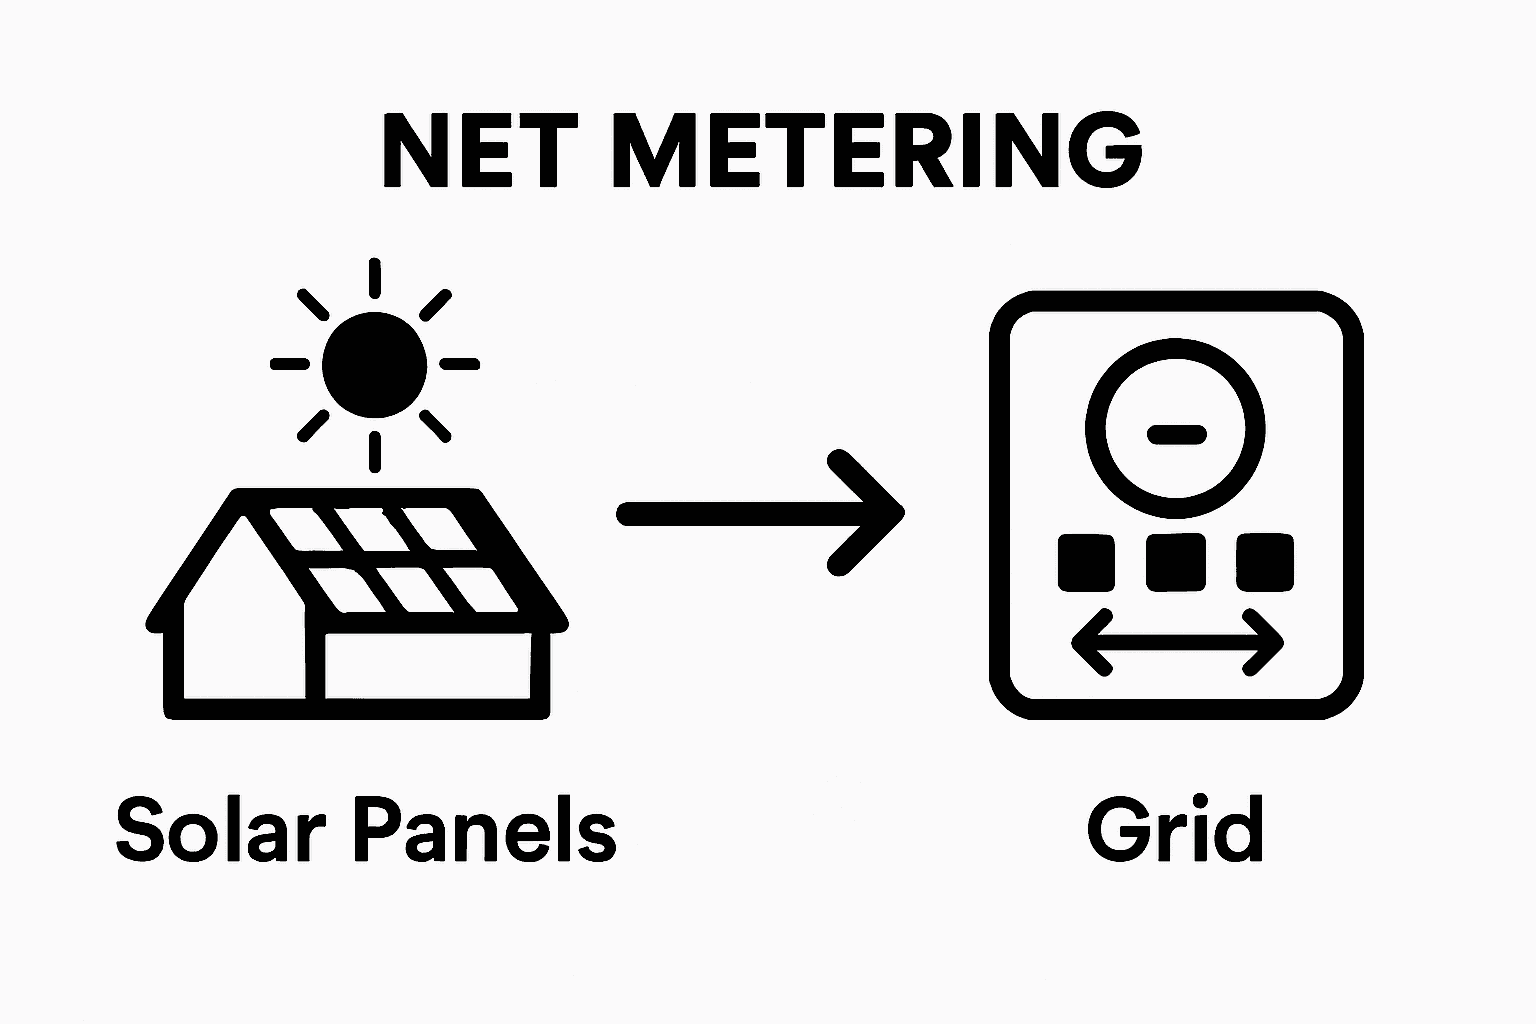
Net metering represents the cornerstone of grid connectivity, allowing homeowners to receive credit for excess electricity generated by their solar panels. When your system produces more electricity than your household consumes, the surplus flows back into the electrical grid. Your utility meter essentially runs backward, creating a credit that offsets future electricity consumption. This mechanism provides a financial incentive for solar energy production and helps stabilize local electrical infrastructure.
Utility company coordination is crucial during grid connection. Your solar installation team will work directly with the local electrical provider to complete the interconnection agreement. This process involves submitting detailed technical documentation, including system specifications, inverter characteristics, and safety compliance certificates. The utility company will conduct a comprehensive review to ensure your solar system meets all safety and technical standards before granting official approval for grid connection.
Installing a bi directional meter is a critical technical requirement for grid connection. Unlike traditional unidirectional meters that only measure electricity consumption, these specialized meters track both incoming and outgoing electricity. This technology enables precise measurement of energy produced by your solar panels and consumed from the grid. Your utility provider will typically handle meter installation, often at no additional cost to you as part of the interconnection process.
Key considerations for grid connection include:
- Compliance with utility company technical specifications
- Proper safety disconnect mechanisms
- Accurate metering equipment
- Synchronized inverter performance
- Adherence to local electrical codes
After physical connection, a final system commissioning occurs. Technicians will conduct comprehensive tests to verify smooth integration, checking electrical synchronization, safety protocols, and energy flow dynamics. They’ll confirm that your solar system can seamlessly switch between solar production, grid consumption, and potential energy storage scenarios.
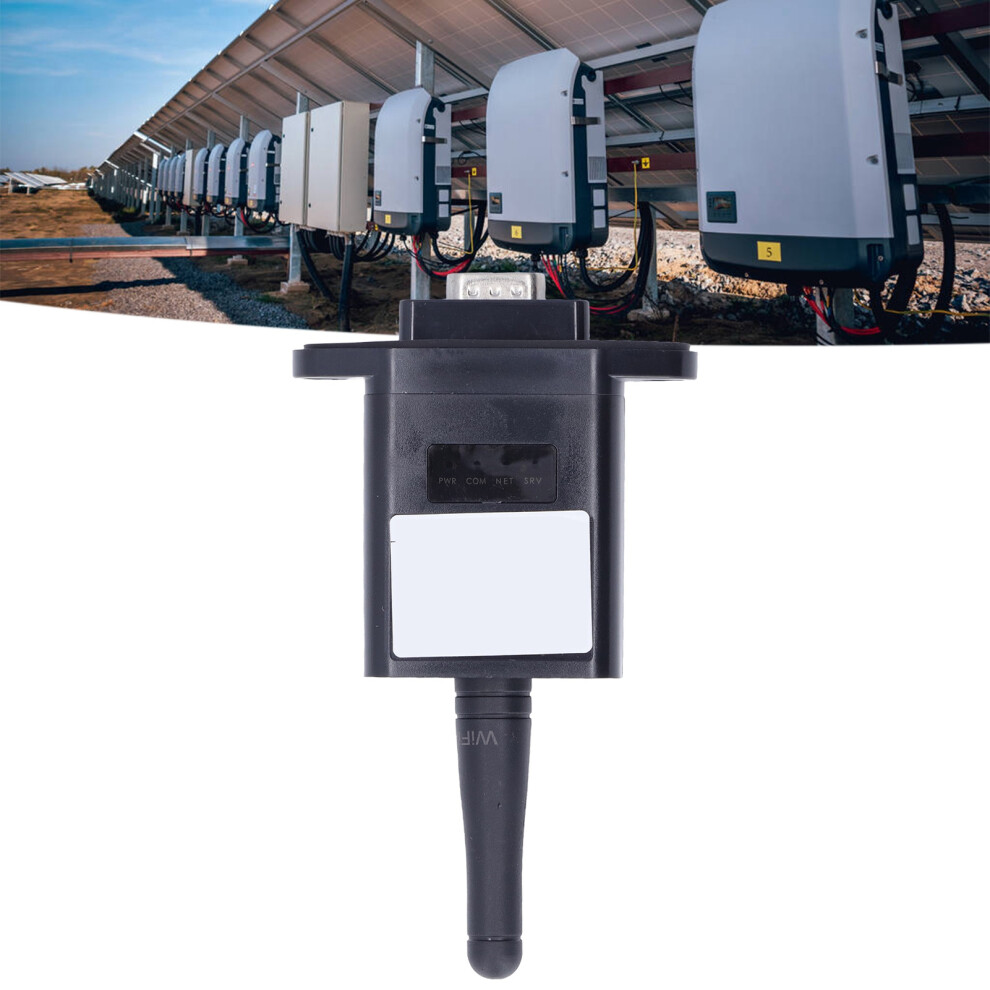
Ongoing monitoring becomes essential after grid connection. Most modern solar systems include digital platforms that provide real time insights into energy production, consumption, and grid interaction. These tools allow you to track your solar performance, understand energy dynamics, and optimize your household’s electricity usage. Successful grid connection marks the final transformation of your solar project from an installation to a fully functional, integrated energy solution.
Step 6: Monitor and Verify Your Solar Energy Output
Monitoring your solar energy system transforms passive installation into an active, intelligent energy management strategy. This crucial step empowers homeowners to understand their energy production, identify potential performance issues, and maximize long term solar investment returns. Learn advanced solar energy tracking techniques to enhance your monitoring approach.
Modern solar monitoring systems provide real time insights into your system’s performance through sophisticated digital platforms. Most contemporary solar installations include web based or smartphone applications that display comprehensive energy production data, including instantaneous output, daily generation, cumulative energy savings, and carbon emission reductions. These platforms typically offer intuitive dashboards with graphical representations of energy flow, allowing you to track performance across hourly, daily, monthly, and annual timelines.

Comparing actual energy production against projected performance becomes a critical verification method. During initial system design, solar installers provide estimated annual energy generation based on your roof’s characteristics, panel efficiency, and local solar radiation levels. Regularly cross reference these projections with actual production data to identify any significant deviations. Substantial differences might indicate potential system issues like panel obstructions, equipment malfunction, or degradation that require professional assessment.
Physical system inspection complements digital monitoring. Conduct visual checks of solar panels quarterly, looking for signs of dirt accumulation, potential damage, or unexpected shading. Dust, bird droppings, and leaf debris can significantly reduce panel efficiency. While many modern panels feature self cleaning technologies, periodic manual cleaning might be necessary, especially in areas with high dust or pollen levels.
Key monitoring practices include:
- Weekly digital dashboard review
- Monthly energy production comparison
- Quarterly physical panel inspection
- Annual professional system assessment
- Immediate reporting of unexpected performance drops
As research from the National Renewable Energy Laboratory indicates, systematic monitoring is crucial for maintaining solar system performance. Develop a consistent tracking routine that becomes part of your regular home maintenance schedule. Most monitoring platforms allow you to set up automatic email or text alerts for significant performance changes, ensuring you stay informed about your solar energy system’s health.
Successful monitoring means establishing a proactive approach to solar system management. By consistently tracking performance, addressing minor issues promptly, and understanding your energy production patterns, you’ll optimize your solar investment and contribute to sustainable energy generation.
Here is a checklist table to help you monitor, inspect, and maintain your home solar energy system for optimal performance.
| Monitoring Activity | Frequency | Purpose/Outcome |
|---|---|---|
| Review digital dashboard | Weekly | Track real-time energy production and system status |
| Compare actual vs. projected output | Monthly | Detect underperformance or unexpected deviations |
| Physical panel inspection | Quarterly | Spot dirt, damage, or shading on panels |
| Professional system assessment | Annually | Ensure full system health and long-term reliability |
| Immediate reporting of performance drops | As needed | Address operational problems promptly |
Ready to Take the Next Step Toward a Smarter Solar-Powered Home?
You have just learned how careful planning, product choice, and system verification are essential on your solar journey. Still, sorting through confusing technology, comparing products, and ensuring you meet your energy goals can feel overwhelming. If you want practical advice or in-depth reviews that cut through the technical noise, you are in the right place. See how our Tips And Techniques can guide you toward cost savings and personalized energy solutions every step of the way.
Don’t let uncertainty hold you back from creating a more efficient home. Visit HTEXS now for honest product reviews, side-by-side comparisons, and actionable guides focused on the latest solar tech and smart home innovations. Take action today—start making informed decisions and finally achieve the energy independence you deserve.
Frequently Asked Questions
What are the main steps to set up solar panels for my home?
The main steps include assessing your energy needs and roof space, choosing the right solar panel system, obtaining necessary permits and approvals, installing the system, connecting it to the electrical grid, and monitoring the energy output.
How do I assess my home’s energy needs for solar panel installation?
Start by reviewing your utility bills to determine your average monthly energy consumption in kilowatt hours (kWh). Analyzing this data over the past 12 months helps you understand your household’s energy demands and informs your solar system size.
What types of solar panels are available, and how do I choose the right one?
The primary types of solar panels are monocrystalline, polycrystalline, and thin film. Monocrystalline panels offer higher efficiency and performance but at a higher cost, while polycrystalline panels are more budget-friendly but slightly less efficient. Evaluate your energy needs, roof space, and budget to choose the right option for your home.
Why is it necessary to obtain permits and approvals for solar panel installation?
Permits and approvals ensure that your solar installation complies with local building codes, zoning regulations, and utility requirements. Skipping this step can lead to costly delays, fines, or even mandatory system removal. It’s essential for the safety and legality of your solar project.
Recommended
- 8 Essential Solar Energy Tips for 2025 – htexs.com
- How Much Will Solar Panels Save Me Calculator: Find Out Now – htexs.com
- How to Save Solar Energy Efficiently in 2025 – htexs.com
- 7 Types of Solar Technology You Should Know About – htexs.com
- How Do Solar Panels Work? – Liberty Roofworks
- Create a Stylish Space: How to Install Shutters Successfully