{
“@type”: “Article”,
“author”: {
“url”: “https://htexs.com”,
“name”: “Htexs”,
“@type”: “Organization”
},
“@context”: “https://schema.org”,
“headline”: “Troubleshooting Solar Panels: A Step-by-Step Guide”,
“publisher”: {
“url”: “https://htexs.com”,
“name”: “Htexs”,
“@type”: “Organization”
},
“inLanguage”: “en”,
“articleBody”: “”,
“description”: “Master troubleshooting solar panels with this step-by-step guide to identify and resolve common issues effectively.”,
“datePublished”: “2025-10-14T00:27:52.165Z”
}
Solar panels are supposed to turn sunlight into steady, reliable power day after day. Most people expect them to work for years with almost no attention at all. Yet the reality is, even the best solar systems lose efficiency over time. A well-maintained solar installation should keep its performance ratio between 0.75 and 0.85 according to National Renewable Energy Laboratory research. But many owners see their numbers quietly slip without realizing it. There’s a science to keeping your solar investment running strong—and it starts with just a few surprising checks that can save serious money in the long run.
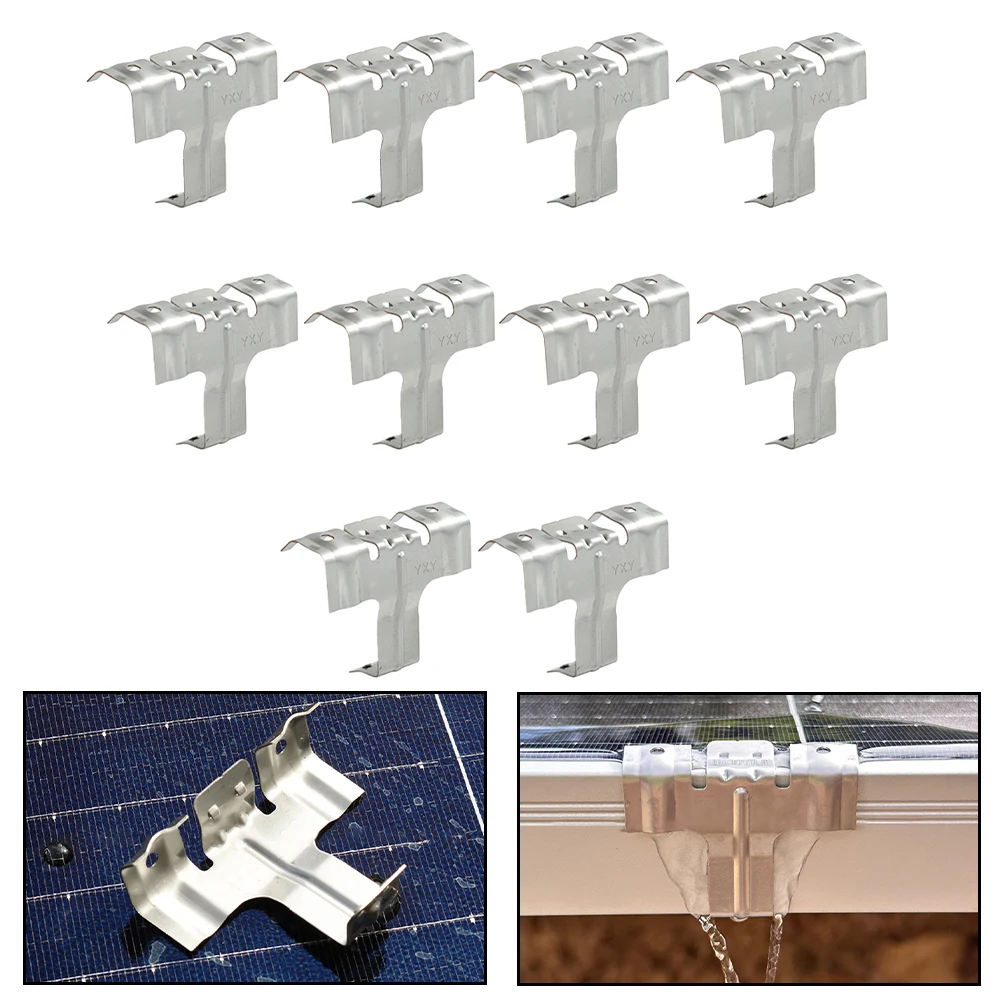
Table of Contents
- Evaluate The System’s Overall Performance
- Inspect Solar Panel Connections And Wiring
- Test The Inverter Functionality
- Measure The Output Voltage Consistency
- Check For Physical Damage And Obstructions
- Document Findings And Implement Repairs
Quick Summary
| Key Point | Explanation |
|---|---|
| 1. Regular performance evaluation is essential. | Consistent assessments help maximize energy production and detect issues early for maintenance or optimization. |
| 2. Monitor your system’s performance ratio. | A performance ratio between 0.75 to 0.85 indicates good efficiency; anything lower may signal potential problems. |
| 3. Inspect connections and wiring carefully. | Regular checks for wear and corrosion in connections can prevent performance drops and safety hazards. |
| 4. Test inverter functionality regularly. | Ensure the inverter consistently outputs correct voltage; significant deviations can indicate internal issues. |
| 5. Document findings and repairs thoroughly. | Maintaining a detailed log of inspections and repairs is critical for tracking system performance over time. |
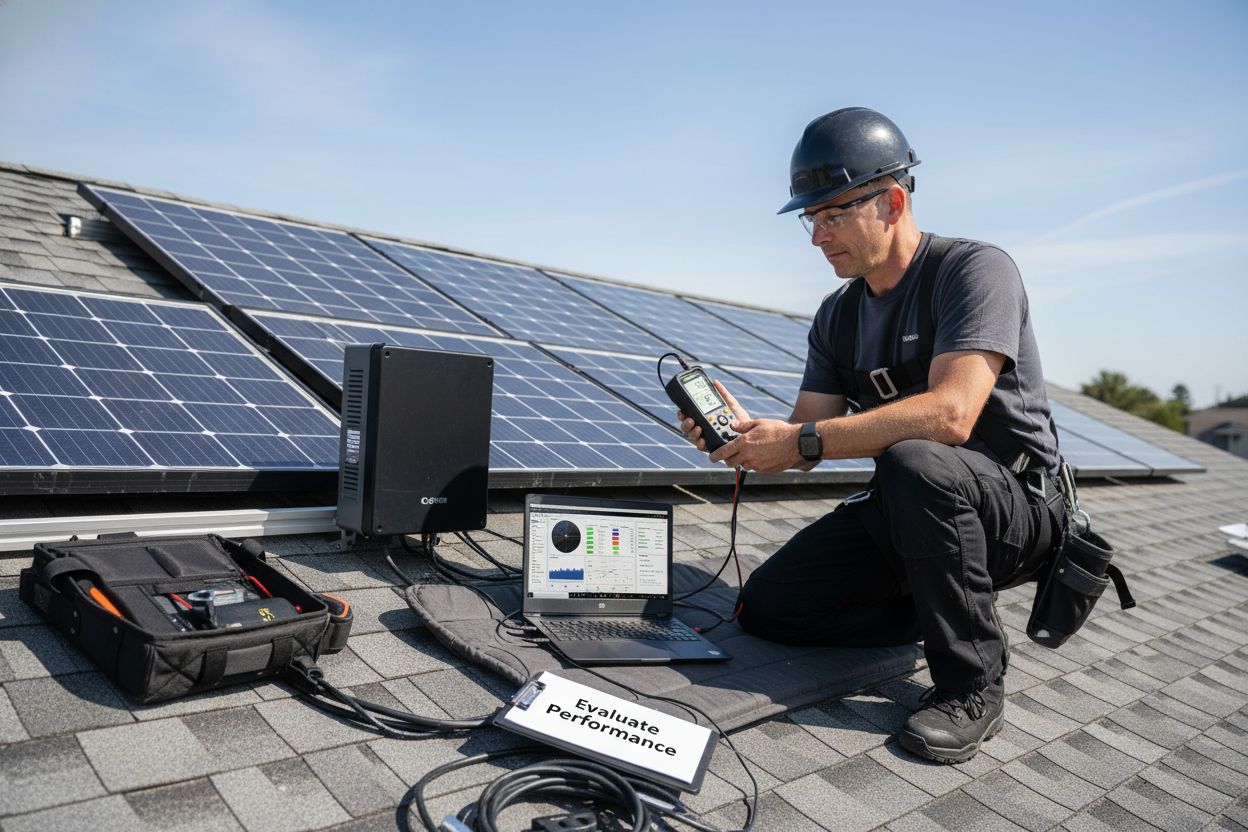
Evaluate the System’s Overall Performance
Evaluating your solar panel system’s overall performance is crucial for ensuring maximum energy production and identifying potential issues before they become significant problems. This comprehensive assessment allows you to understand how efficiently your solar installation is converting sunlight into electrical energy and pinpoint any areas that might require maintenance or optimization.
To begin your performance evaluation, you will need some essential tools: a monitoring device or software connected to your solar inverter, a record of your system’s historical energy production data, and recent electricity bills. Comparative analysis is key to understanding your system’s true performance. Start by collecting at least 12 months of production data to account for seasonal variations and provide a comprehensive view of your solar panel performance.
The performance ratio is a critical metric that reveals how effectively your solar panels convert available sunlight into electrical energy. According to research from the National Renewable Energy Laboratory, a well-functioning solar PV system typically maintains a performance ratio between 0.75 and 0.85. If your system consistently falls below this range, it may indicate potential problems such as:
- Panel degradation
- Shading issues
- Inverter inefficiencies
- Accumulated dust or debris
- Potential wiring or connection problems
Carefully compare your current energy production against the system’s initial specifications and manufacturer’s expected output.
Below is a troubleshooting table summarizing common solar panel problems mentioned in the article, their likely causes, and the recommended actions to resolve them.
| Problem | Likely Cause | Recommended Action |
|---|---|---|
| Drop in performance ratio | Panel degradation, shading, inverter inefficiency, wiring issues, dust/debris | Evaluate data, inspect system, clean panels, check inverter and connections |
| Sudden voltage inconsistencies | Wiring or connection issues, panel degradation | Test all connections, reseat or replace faulty wires, replace panels if needed |
| Inverter output deviations or errors | Internal component failure, physical damage, overheating | Measure input/output, check for error codes, call technician for repairs |
| Visible physical damage or cracks | Weather, impact, wear | Document, repair or replace damaged panels |
| Reduced output due to debris/shading | Bird droppings, leaves, new obstructions | Gently clean panels, trim surrounding vegetation, remove obstructions |
| Loose or corroded connections | Environmental exposure | Secure or replace connections, retest system |
| System shows no generation | Inverter or connection failure, shutdown | Inspect inverter, reconnect wiring, consult professional |
Most modern solar panel systems include digital monitoring platforms that provide real-time performance data. These platforms allow you to track energy production, identify potential malfunctions, and understand your system’s efficiency with remarkable precision. By regularly reviewing this data and comparing it against expected performance metrics, you can proactively manage your solar installation and ensure optimal energy generation throughout its operational lifecycle.
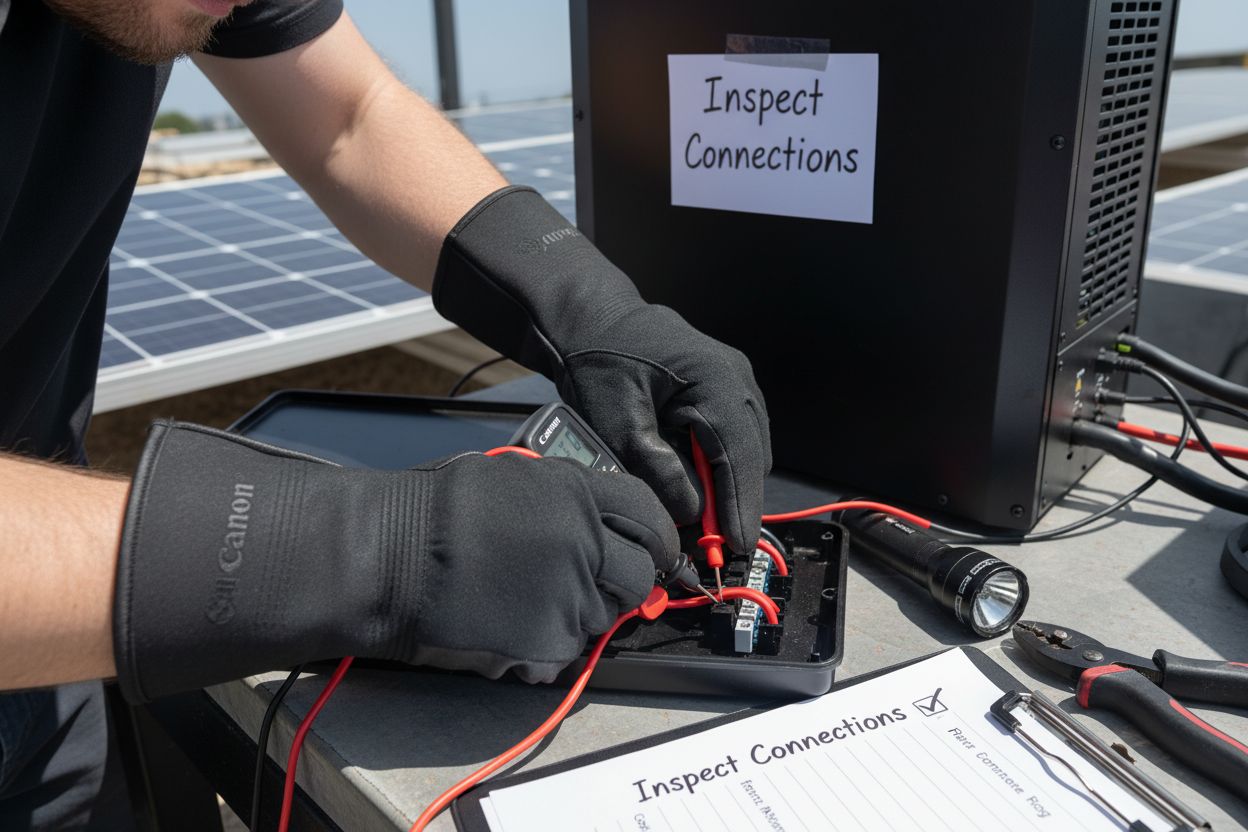
Inspect Solar Panel Connections and Wiring
Inspecting your solar panel connections and wiring is a critical maintenance step that ensures your system operates safely and efficiently. Electrical connections are the critical pathways that transfer the energy generated by your solar panels, and any compromise in these connections can significantly reduce system performance or create potential safety hazards.
Before beginning your inspection, power down the entire solar panel system at both the circuit breaker and the system’s main disconnect switch. Safety is paramount when working with electrical systems. You will need several tools for a comprehensive inspection: a multimeter, wire strippers, protective gloves, a flashlight, and a digital camera to document any potential issues you might discover.
According to research from the National Renewable Energy Laboratory, systematic visual and electrical inspections are crucial for maintaining solar panel system integrity. Start by visually examining all external wiring connections, looking for signs of wear, corrosion, or environmental damage. Pay special attention to junction boxes, inverter connections, and ground wire interfaces. These areas are most susceptible to degradation from temperature fluctuations, moisture, and UV exposure.
Utilize your multimeter to test electrical continuity and resistance at each connection point. Resistance readings that deviate significantly from manufacturer specifications can indicate potential connection failures. Check for loose connections by gently wiggling wire terminals and observing any movement. Loose connections generate heat and can lead to system inefficiencies or electrical failures.
Specifically inspect these critical connection areas:
- Solar panel junction boxes
- Inverter input and output terminals
- Grounding wire connections
- Battery storage system interfaces (if applicable)
- Conduit and cable entry points
If you want to learn more about setting up solar panels effectively, understanding proper connection techniques is fundamental. Document your findings with photographs, noting any areas of concern. Small issues caught during routine inspections can prevent more significant problems and costly repairs down the line. After completing your inspection, carefully restore system power and monitor performance to confirm everything is functioning correctly.
Test the Inverter Functionality
Testing your solar panel system’s inverter is a critical diagnostic step that determines how efficiently your solar installation converts direct current (DC) electricity from panels into usable alternating current (AC) electricity for your home. The inverter acts as the critical brain of your solar system, and its performance directly impacts overall energy generation and system reliability.
Safety is paramount during this testing process. Before beginning any diagnostic procedures, ensure the system is completely disconnected from both the solar panel array and the electrical grid. You will need specialized equipment including a multimeter, digital display reader, and protective electrical safety gear. If you’re unfamiliar with electrical testing, consulting a professional solar technician is strongly recommended.
Begin by visually inspecting the inverter for any obvious signs of physical damage, corrosion, or overheating. Look for discoloration, burn marks, or unusual wear around connection points. These visual indicators can provide early warning signs of potential electrical issues. Your digital monitoring system can offer preliminary insights, but hands-on testing provides the most comprehensive assessment.
To thoroughly test inverter functionality, you’ll want to measure several key performance parameters. Use your multimeter to check voltage input and output, ensuring the readings align with manufacturer specifications. Pay close attention to voltage consistency and wave form quality. Significant deviations might indicate internal component degradation or potential failure.
If you want to understand more about solar inverters and their critical role, the diagnostic process involves multiple assessment techniques. Modern inverters often include built-in diagnostic tools that can help identify potential issues. Check the device’s error log and performance history, which typically display fault codes or performance anomalies that might not be immediately visible during physical inspection.
Key verification criteria for successful inverter testing include:
- Consistent voltage output within manufacturer specifications
- No error codes displayed on digital interface
- Clean, stable electrical wave form
- No unusual sounds or temperature fluctuations
- Proper communication with monitoring systems
After completing your diagnostic tests, carefully document your findings. If you detect any significant performance variations or unusual readings, contact a professional solar technician for a comprehensive evaluation. Remember that early detection of inverter issues can prevent more extensive and costly system failures.
Measure the Output Voltage Consistency
Measuring the output voltage consistency of your solar panel system is a crucial diagnostic step that reveals the health and performance of your photovoltaic installation. This process helps you identify potential issues that might be reducing your system’s overall energy generation efficiency, such as panel degradation, connection problems, or environmental interference.
Preparation is key to accurate voltage measurement. You will need specialized tools including a high-quality digital multimeter with solar panel testing capabilities, protective electrical safety gear, and ideally a reference chart of your specific solar panel system’s expected voltage ranges. Before beginning, ensure the solar panel system is operating under stable sunlight conditions, preferably during peak daylight hours when solar irradiation is most consistent.
According to research from the National Renewable Energy Laboratory, consistent voltage readings at the array output indicate healthy system performance. Start by accessing your solar panel array’s junction box or terminal points. Carefully set your multimeter to the DC voltage setting, matching the expected voltage range of your solar installation. Most residential solar panel systems operate between 30 and 60 volts DC, though this can vary based on system design and panel configuration.
Take multiple voltage readings across different panel sections and connections. Systematic measurements will help you identify any localized performance variations. Pay special attention to voltage differences between individual panels and overall array performance. Significant variations might indicate issues such as partial shading, panel degradation, or wiring inconsistencies. Modern solar monitoring systems can provide additional context, but direct multimeter measurements offer precise, real-time insights.
Key verification criteria for successful voltage consistency testing include:
- Voltage readings within 2-3% of manufacturer specifications
- Minimal variation between individual panel outputs
- Stable voltage under consistent sunlight conditions
- No unexpected drops or fluctuations
- Matching performance with system’s digital monitoring data
Document all your measurements carefully, noting the time, sunlight conditions, and specific reading locations. If you detect substantial voltage inconsistencies or readings significantly outside expected ranges, consider consulting a professional solar technician for a comprehensive system evaluation. Remember that early detection of voltage irregularities can prevent more extensive performance degradation and potential system failures.
Check for Physical Damage and Obstructions
Checking for physical damage and obstructions is a critical maintenance step that ensures your solar panel system operates at peak efficiency. Environmental factors, wildlife, and weather conditions can gradually compromise your system’s performance, making regular visual inspections essential for maintaining long-term energy production and preventing potential system failures.
Safety should be your primary consideration during this inspection. Always use proper safety equipment such as non-slip shoes, a sturdy ladder, and fall protection if working at height. Begin your inspection during daylight hours with clear visibility, preferably on a cool day to minimize heat-related risks. A pair of binoculars can help you initially assess hard-to-reach areas without immediately climbing onto the roof.
According to research from the National Renewable Energy Laboratory, physical inspection should comprehensively examine solar panels for broken glass, frame damage, and environmental obstructions. Carefully scan each panel’s surface for signs of wear, cracks, or discoloration. Pay special attention to panel edges, where microcracks or seal degradation often first appear. Look for evidence of water intrusion, which can cause internal damage and reduce panel efficiency over time.
Obstructions can significantly impact solar panel performance.
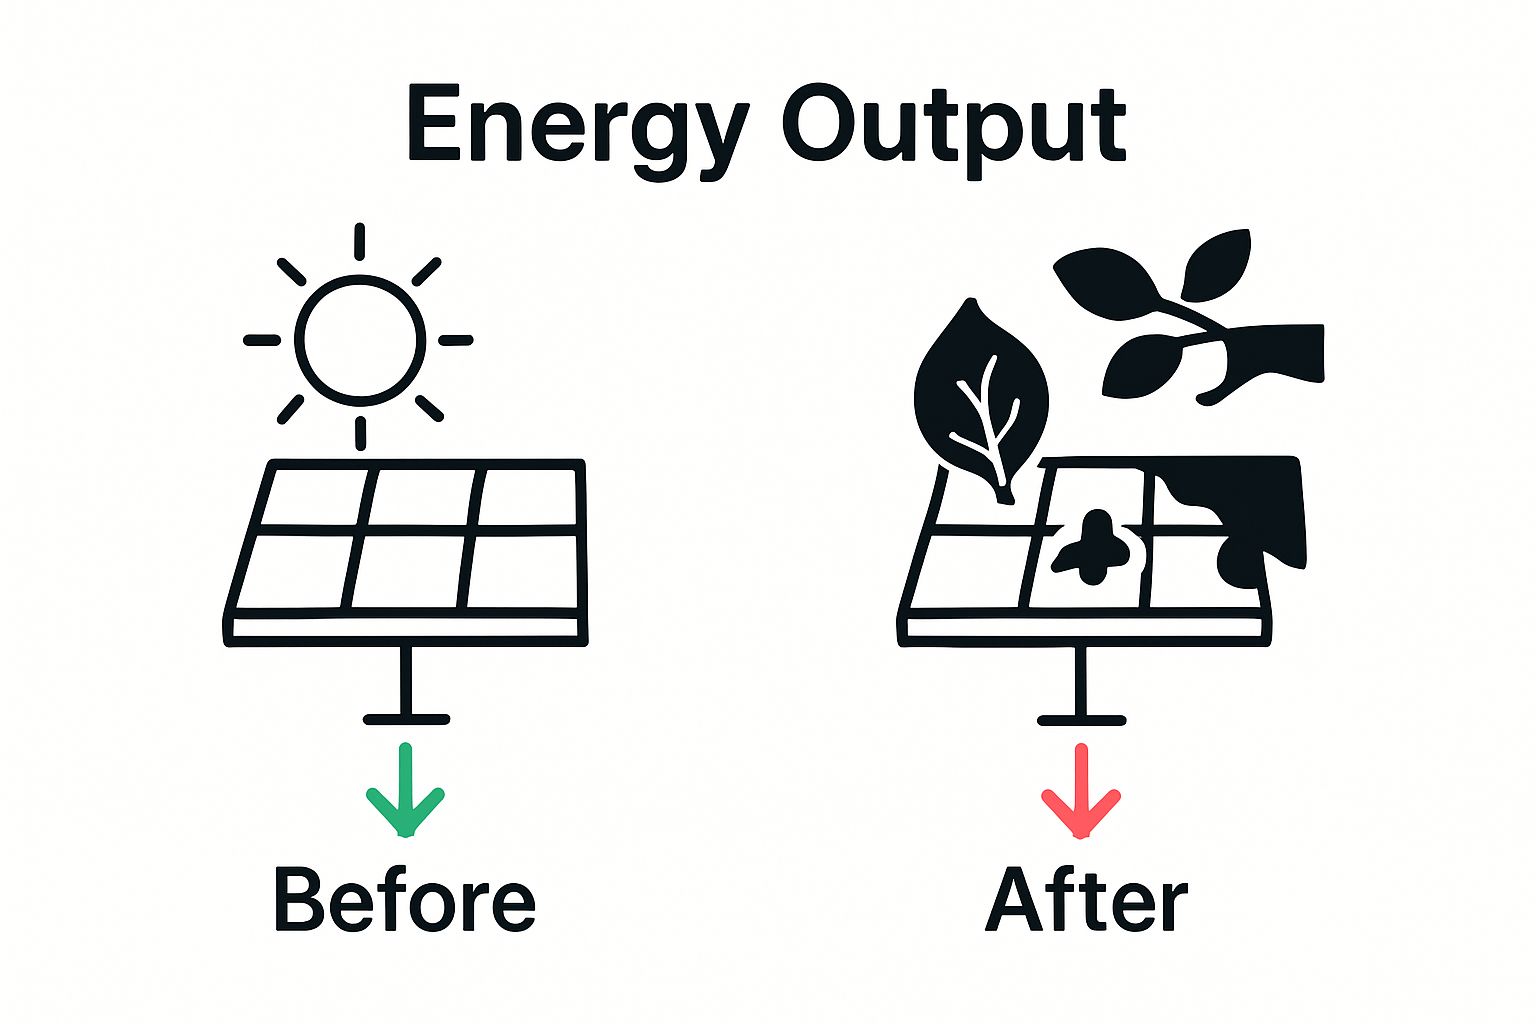 Examine the surrounding environment for potential shade sources like growing trees, new construction, or accumulated debris. Bird droppings, fallen leaves, and dust can create localized shading that reduces energy generation. Use a soft, non-abrasive cleaning tool to gently remove surface debris, being careful not to scratch the panel’s protective coating. If substantial cleaning is required, consider consulting a professional solar maintenance service.
Key verification criteria for a thorough physical damage and obstruction check include:
- No visible cracks or chips in panel glass
- Secure mounting hardware with no signs of corrosion
- Clear panel surface without significant debris
- No unexpected shade sources blocking panel exposure
- Intact weatherproofing and panel seals
Document your findings with photographs, noting the location and nature of any potential issues. If you discover significant damage or persistent obstructions, contact a professional solar technician for a comprehensive assessment. Regular inspections can help you catch and address minor problems before they escalate into costly repairs or system performance degradation.
Document Findings and Implement Repairs
Documenting your solar panel system’s diagnostic findings and implementing targeted repairs is the most critical step in maintaining long-term system performance and reliability. This comprehensive process transforms your inspection data into actionable insights that can prevent potential energy generation losses and extend your solar installation’s operational lifespan.

Systematic documentation is the foundation of effective solar system maintenance. Create a detailed digital and physical record of your diagnostic findings, including date-stamped photographs, precise measurements, and specific observations from each testing phase. Use a dedicated spreadsheet or specialized solar system maintenance software to track performance metrics, repair history, and potential future maintenance requirements. This documentation serves not only as a personal reference but can also be valuable for warranty claims or professional technical assessments.
Prioritize repairs based on the severity and potential impact on system performance. Minor issues like loose connections or minor panel surface debris can often be addressed immediately, while more complex problems might require professional intervention. Categorize your findings into immediate, short-term, and long-term repair priorities. Immediate repairs include any issues that could compromise system safety or cause significant energy generation losses, such as exposed wiring, significant panel damage, or inverter malfunctions.
For DIY repairs, ensure you have the appropriate tools, replacement components, and safety equipment. Always disconnect the solar system from both the panel array and electrical grid before attempting any physical repairs. If you’re uncertain about the complexity of a repair or lack the necessary technical expertise, consulting a certified solar technician is the safest and most efficient approach. Professional technicians can provide comprehensive system diagnostics and implement repairs with manufacturer-approved techniques.
Key verification criteria for successful documentation and repair implementation include:
- Comprehensive digital and physical repair documentation
- Prioritized repair list with clear action items
- Safety protocols followed during repair process
- Verification of system performance after repairs
- Updated maintenance log with repair details
After completing repairs, conduct a final system performance test to confirm that your interventions have resolved the identified issues. Monitor your solar panel system’s energy generation closely in the weeks following repairs to ensure continued optimal performance.
Here is a checklist table to help verify you have completed each essential inspection and maintenance step discussed in this guide for optimal solar panel performance.
| Inspection Area | Completion Criteria | Verified (Yes/No) |
|---|---|---|
| System Performance Evaluation | Collected 12+ months data, compared to specifications | |
| Wiring and Connection Inspection | No corrosion, loose connections, or wear detected | |
| Inverter Functionality Tested | Output within specs, no error codes | |
| Output Voltage Consistency | Voltage within 2-3% of specs across all panels | |
| Physical Damage/Obstruction Check | No cracks, chips, or shading; panels cleaned | |
| Documentation and Repairs | Issues logged, repairs complete, system retested |
Ready to Take Control of Your Solar Performance?
Struggling to keep your solar panels efficient can feel overwhelming. Unstable output, confusing inverter errors, or mysterious drops in energy production can make troubleshooting a challenge. You want clear answers and real solutions fast. That is where HTEXS steps in as your trusted partner. On our Tips And Techniques page, you will find step-by-step guides and expert breakdowns that simplify technical details, so you can fix issues with confidence.

Do not wait until a small problem turns into costly repairs. Explore our expert-backed tips and actionable insights at HTEXS. Learn how simple tweaks and the right tools can help you maximize panel efficiency and reduce downtime. Visit us today and let our practical advice get your solar system back on track.
Frequently Asked Questions
How can I evaluate the overall performance of my solar panel system?
To evaluate your solar panel system’s performance, start by collecting at least 12 months of energy production data and comparing it to the manufacturer’s specifications. Look for significant drops in performance and check your digital monitoring platform for real-time data to identify any issues.
What should I inspect when checking solar panel connections and wiring?
Inspect all external wiring connections, focusing on junction boxes, inverter connections, and grounding wires for signs of wear, corrosion, or damage. Use a multimeter to check for electrical continuity and resistance, and ensure all connections are secure to avoid inefficiencies.
How do I test the functionality of my solar inverter?
To test your solar inverter, ensure the system is disconnected from power sources, then visually inspect it for damage and measure voltage input and output using a multimeter. Look for consistent readings within manufacturer specifications and check for any error codes on the inverter’s digital interface.
What steps should I take to measure the output voltage consistency of my solar panels?
Measure the output voltage by accessing the junction box or terminal points of your solar panel array with a multimeter set to the DC voltage setting. Take multiple readings across different panels, ensuring they are within 2-3% of manufacturer specifications to identify any potential performance issues.
How can I check for physical damage and obstructions affecting my solar panels?
Conduct a visual inspection of your solar panels for cracks, discoloration, and signs of debris or shading from surrounding objects. Clear any obstructions and document any damage to ensure your system operates at peak efficiency.
What should I do after documenting my findings from the solar panel inspection?
After documenting your findings, prioritize repairs based on their severity and potential impact on performance. Take immediate action on any critical issues and consult a professional if needed, ensuring you verify system performance post-repair to confirm effectiveness.
Recommended
- How to Set Up Solar Panels for Your Home: A Step-by-Step Guide – htexs.com
- What to Know About Solar Panels: Understanding Their Impact – htexs.com
- 8 Essential Solar Technology Tips for Every User – htexs.com
- Understanding Solar Panel Issues: Key Concepts Explained – htexs.com