Beginner’s Guide to Programming ESP32 for IoT projects
The ESP32 microcontroller has revolutionized how developers approach internet of Things (IoT) projects by providing powerful computing, integrated wireless communication, and energy-efficient operation in a compact form factor. For engineers, developers, and researchers new to the platform, mastering how to program the ESP32 unlocks a versatile gateway into connected device innovation. This guide delivers expert insights and practical steps tailored to first-time ESP32 programmers eager to build scalable, secure IoT solutions today.
Understanding the ESP32 Architecture: Foundation of IoT Programming
Before diving into code, it’s essential to grasp what makes the ESP32 uniquely suited for IoT. The ESP32 is a dual-core, 32-bit microcontroller developed by Espressif Systems, featuring integrated Wi-Fi (802.11 b/g/n) and bluetooth (classic and BLE). Its architecture blends processing power wiht versatile peripherals, supporting a wide range of sensors and actuators, making it the backbone of countless IoT devices.
Core Components and Capabilities
under its hood, the ESP32 sports:
- Dual Tensilica LX6 CPUs: running up to 240 mhz, enabling multitasking and efficient execution.
- Wireless Connectivity: Simultaneous Wi-Fi and Bluetooth for diverse IoT network topologies.
- Rich Peripheral Set: SPI, I2C, UART, ADC, DAC, capacitive touch sensing, and PWM outputs.
- Low Power Management: Multiple sleep modes suitable for battery-operated applications.
Memory Footprint and Storage options
The ESP32 typically includes 520 KB of SRAM and supports external flash ranging from 4MB upwards. With the right partitioning, developers can balance program code, filesystem storage like SPIFFS or LittleFS, and OTA update capabilities.
Setting Up Your Development Environment for ESP32
Establishing a robust development environment is the critical next step for any beginner. The two most popular environments for ESP32 programming are the Arduino IDE and Espressif’s official ESP-IDF.Each offers distinct advantages tailored to different experience levels and project scales.
choosing Between Arduino IDE and ESP-IDF
Arduino IDE: Known for simplicity and a vast ecosystem of libraries, it’s ideal for rapid prototyping and beginners who want to start coding immediately.
ESP-IDF (Espressif IoT Development framework): Provides in-depth control over hardware with modular components, RTOS support, and extensive debugging tools preferred by advanced developers.
Step-by-Step Installation of Arduino IDE for ESP32
- Download and install the latest Arduino IDE from Arduino Official.
- Open Arduino IDE, navigate to File > Preferences, and add
https://raw.githubusercontent.com/espressif/arduino-esp32/gh-pages/package_esp32_index.json to ”Additional Boards manager URLs”. - Go to Tools > Board > Boards Manager, search for “ESP32”, and install the Espressif ESP32 platform.
- Select your ESP32 board from Tools > board, e.g., “ESP32 Dev Module.”
- Install necesary USB drivers if required (CP210x or FTDI).
Creating Your First ESP32 IoT Project: Blinking an LED
Getting hands-on with LEDs is the conventional “Hello World” for embedded devices. It verifies your toolchain and basic hardware interaction.
Writing Your First Blink Sketch
const int ledPin = 2; // onboard LED for many ESP32 boards


void setup() {

  pinMode(ledPin, OUTPUT);

}


void loop() {

  digitalWrite(ledPin, HIGH);

  delay(500);

  digitalWrite(ledPin, LOW);

  delay(500);

}
Upload the sketch via USB after selecting the correct port. The onboard LED should blink every 500 milliseconds, confirming communication and programming capability.
Leveraging ESP32’s Networking: connecting to Wi-Fi and MQTT
Networking transforms the ESP32 from a standalone controller into a powerful IoT node. The module’s integrated Wi-Fi simplifies internet connectivity.
Basic Wi-Fi Connection Code Exmaple
#include


const char* ssid = "yourSSID";

const char* password = "yourPassword";


void setup() {

  serial.begin(115200);

  WiFi.begin(ssid,password);


  Serial.print("Connecting to WiFi");

  while (wifi.status() != WL_CONNECTED) {

    delay(500);

    Serial.print(".");

  }

  Serial.println("Connected!");

  Serial.println(WiFi.localIP());

}


void loop() {

  // put your main code here,to run repeatedly:

}
Implementing MQTT Protocol for Real-Time IoT Messaging
MQTT is a lightweight messaging protocol optimized for constrained devices and unreliable networks,making it perfect for IoT.
- Use libraries like PubSubClient for MQTT client implementation.
- Set up an MQTT broker-public ones like Eclipse Mosquitto or self-hosted brokers offer adaptability.
- Design topics thoughtfully to organize data flow and commands within your IoT architecture.
 cloud services, highlighting Wi-Fi and Bluetooth connectivity%%”
alt=”Beginner’s guide to programming ESP32 for IoT projects concept image” style=”border-radius:12px;max-width:100%;height:auto;”>
Sensor Interfacing and data Acquisition With ESP32
ESP32 supports a broad set of interfaces allowing seamless connection to sensors critical for IoT applications from environmental monitoring to industrial automation.
Digital and Analog Inputs Handling
Use GPIO pins to read digital sensors or triggers; ADC (Analog to Digital Converter) pins for analog sensors such as temperature or light intensity sensors.
Integrating Common Sensors
Libraries like DHT for humidity/temperature sensors or Adafruit BMP280 for barometric pressure simplify sensor data acquisition and integration.
Optimizing ESP32 Power Consumption for IoT Deployments
Many IoT projects require long-term deployment on batteries or energy harvesting systems. The ESP32’s dynamic power management capabilities are vital here.
Sleep Modes Explained
- Light sleep: CPU paused, peripherals active.
- Deep Sleep: CPU and most peripherals off, minimal power consumption.
- Modem Sleep: Wi-fi modem off while CPU is operational.
implementing Deep Sleep in Code
esp_sleep_enable_timer_wakeup(60000000); // wake up after 60 seconds

esp_deep_sleep_start();
This robust sleep management handles millions of queries with low power consumption – delivering outstanding performance!
Ensuring Security in Your ESP32 IoT Applications
Security is often underestimated in IoT but critical for production readiness. The ESP32 includes hardware security features-such as, secure boot, flash encryption, and cryptographic accelerators.
Best Security Practices for ESP32 IoT
- Use WPA2/WPA3 for Wi-fi connectivity.
- Secure MQTT connections via TLS/SSL.
- Implement over-the-air (OTA) updates with cryptographic verification.
- Enable flash encryption and secure boot to protect device firmware.
Tooling for Enhanced Security
The Espressif ESP32 Security Guide offers a comprehensive resource to methodically secure your embedded projects.
Debugging and Profiling ESP32 Firmware: Techniques Beginners Must Know
Debugging embedded code requires an understanding of the available tools and techniques to reduce development cycles and enhance reliability.
Serial Output Debugging
the most straightforward method involves leveraging the ESP32’s UART serial output to monitor logs and sensor data via a serial monitor.
Advanced Tools: JTAG and IDF Monitor
Using JTAG debuggers and ESP-IDF’s sophisticated monitor tools enables breakpoint setting, real-time inspection, and stack trace analysis, crucial for complex applications.
Scalable IoT Project Architecture with ESP32 and Cloud Integration
Moving beyond prototype to production requires robust architecture planning. ESP32 devices commonly serve as edge nodes communicating with cloud platforms for data aggregation, remote management, and AI processing.
Cloud Platforms Compatible with ESP32
- AWS IoT Core
- azure IoT Hub
- Google Cloud IoT Core (note: phased out in 2024 – consider alternatives)
- ThingsBoard (open-source platform)
Essential Edge-to-Cloud data Flow Considerations
- Message encoding formats – MQTT topics, JSON or CBOR serialization.
- Latency and throughput KPI alignment for real-time analytics.
- Device provisioning and lifecycle management.
over-the-Air (OTA) Updates: Keeping ESP32 Firmware Fresh and Secure
OTA firmware updating is paramount for remotely deployed IoT devices, allowing feature upgrades and patching vulnerabilities without physical access.
Implementing OTA in Arduino IDE
The Arduino environment provides libraries such as ArduinoOTA facilitating wireless updates over Wi-Fi.
OTA Security and Rollback Strategies
Encrypting firmware images, validating signatures, and designing fallback mechanisms in case of failed updates ensure device integrity and uptime.
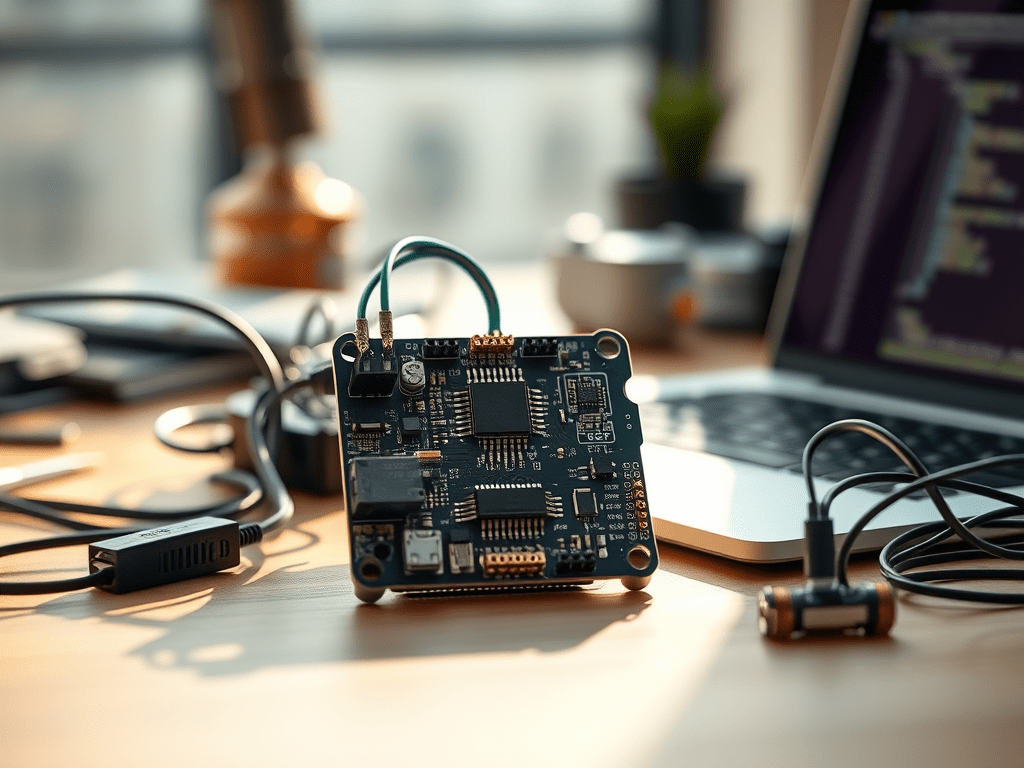
alt=”Beginner’s guide to programming ESP32 for IoT projects real-world application” style=”border-radius:12px;max-width:100%;height:auto;”>
Open-Source Libraries and Communities Accelerating ESP32 Learning
Leveraging existing resources helps beginners and professionals alike to expedite development and access collective intelligence.
Starter-Amiable ESP32 Libraries
- Arduino-ESP32 core – official Arduino framework for ESP32 boards.
- NodeMCU PyFlasher – simple tool for flashing ESP32 with MicroPython firmware.
- ESPAsyncWebServer – asynchronously serve web pages directly from ESP32, ideal for simple IoT control UIs.
Communities for Continuous Learning and Support
Join discussion and troubleshooting forums at ESP32.com, Stack Overflow ESP32 tag, or GitHub repositories to collaborate and stay updated on best practices.
Hardware Considerations When Expanding ESP32 IoT Projects
While software unlocks the potential of ESP32, hardware integration defines the scope and success of IoT projects.
Selecting Compatible Sensors and Modules
Evaluate sensor interfaces (I2C, SPI, OneWire) and power requirements before purchasing.Consider environmental factors such as temperature range, durability, and calibration necessities.
Prototyping and Scaling Considerations
Modular prototyping platforms like ESP32 Dev Kits, Breadboards, and Sensor Shields improve development agility. For scaling, design custom PCBs to optimize space, power, and connections.
Measuring success: KPIs for ESP32-Powered IoT Systems
Bridging the Next Steps: From Prototyping to Production with ESP32
As proficiency with programming and deploying ESP32-based IoT solutions grows, transition your projects from experimental builds to replicable product lines. This involves integrating robust software frameworks, hardware validation, regulatory compliance, and operational monitoring.
Version Control and Continuous Integration (CI)
Use tools like Git and CI pipelines (GitHub Actions, gitlab CI) tailored for embedded firmware. Automate builds, testing, and OTA deployment for consistent quality.
Quality Assurance and Field Testing
Comprehensive test suites, including unit tests and hardware-in-the-loop, validate system resilience. Field pilots uncover real-world insights vital to iterative enhancement cycles.
The ESP32 is a gateway to unlocking wide-ranging IoT innovation through smart programming and infrastructure integration. Beginners equipped with this guide will confidently navigate from bootloader to cloud, shaping well-architected, secure, and efficient connected solutions.