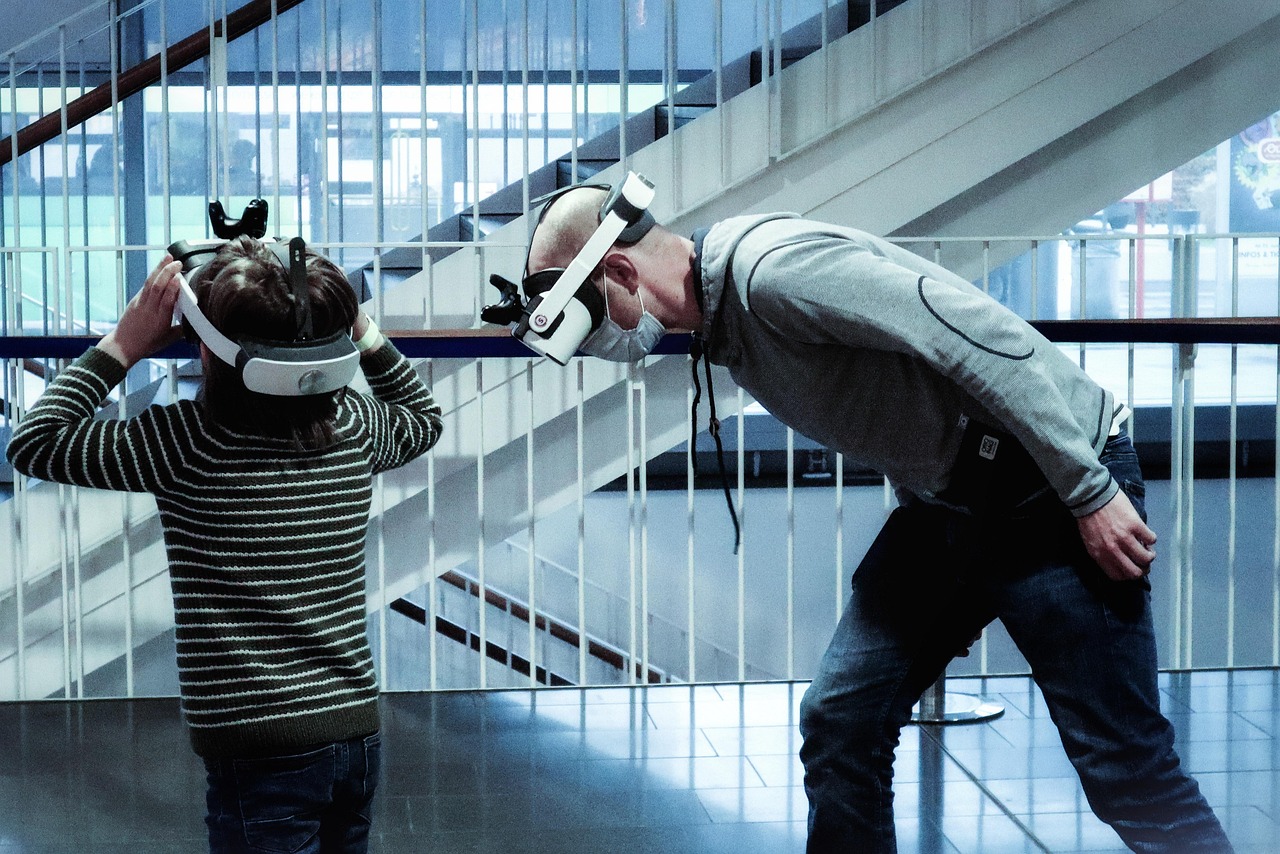
Unlocking a New Reality: Connecting Your AR VR Headset to Your PC
In this guide, we will walk you through the simple steps to connect your foldable AR VR headset to your PC, enhancing our virtual experience. Let’s get started on this exciting journey into a new world of immersive possibilities!
What You’ll Need: Essentials for a Smooth Connection
Before we dive in, let’s gather everything necessary for a seamless connection:
With these essentials on hand, we’re ready to get started!

Step 1: Gather Your Gear
Do You Have Everything Ready to Go?Before we dive in, let’s ensure we have all the necessary equipment at hand to avoid interruptions during setup. We need to have the following essentials ready:
By assembling everything in one place, we set ourselves up for a smoother, more efficient setup experience!

Step 2: Install the Required Software
Are You Ready to Dive into the Virtual World?Now, let’s get our headset working with our PC by downloading and installing the necessary software. This vital step ensures our computer can effectively communicate with the headset for a seamless experience.
- Visit the Official Website: Start by going to the manufacturer’s website for our headset. Look for the “Support” or “Downloads” section.
- Download the Software: Locate the software package specific to our headset model. Click the download link and save the file to our PC.
- Run the Installer: Open the downloaded file and follow the on-screen instructions to install the software. Make sure to grant any required permissions for the installation to complete successfully.
- Update Firmware (if prompted): If the software prompts us to update firmware, definitely do so to ensure optimal performance.
By completing these steps, we lay the foundation for a fully functional AR VR experience.

Step 3: Connect the Headset to the PC
Let’s Make That Connection!Now, let’s physically connect our headset to the PC. This step is crucial for establishing a solid connection that will allow us to enjoy our immersive experiences.
- Locate the USB Ports: Check your PC for available USB ports. We usually find a mix of USB-A and USB-C options, depending on the model.
- Plug in the USB Cable: Take the appropriate USB cable—typically a USB-C for modern headsets—and connect one end to the headset. Firmly insert the other end into an available USB port on our PC.
- Secure Other Connections: If our headset has additional cables, such as HDMI or DisplayPort for video, connect those as well.
- Check for LEDs: Look for any indicator lights on the headset. A glowing light usually means it’s powered and ready!
With our headset securely connected, we can get one step closer to diving into the virtual world.

Step 4: Adjust Settings for Optimal Performance
Did You Know Small Tweaks Can Make a Big Difference?Now that we have our headset connected, it’s time to navigate through the settings on our PC and headset to maximize performance. Let’s make our virtual experience as immersive as possible!
- Open Graphics Settings: Go to our PC’s display settings. For Windows, right-click on the desktop and select Display Settings. Make sure the resolution matches our headset’s specifications for sharper visuals.
- Adjust Refresh Rate: Check the refresh rate in the advanced display settings. A higher refresh rate, like 90Hz or 120Hz, usually results in smoother motion in our VR environment.
- Enable VR Mode: If our headset supports a dedicated VR mode, activate it. This might involve toggling a setting within the headset’s software or app.
- Optimize Audio Settings: Ensure that the audio output is set to the headset for an enveloping sound experience.
By fine-tuning these settings, we’ll enhance our immersion and ensure a fantastic adventure in virtual reality!

Step 5: Test the Connection
Are You Ready to See If It Works?Let’s run a quick test to see if our setup is functioning correctly. First, launch the software we installed in Step 2 and ensure it recognizes our headset.
Check Headset Status: Look for any messages indicating whether the headset is connected. If it’s recognized, we should see an indicator light change or a notification.
Launch a Demo or Test App: Most software includes a demo or test application. Open this to verify the visual and audio output is working correctly.
Move Around and Interact: Once in the test app, move our head and interact with the environment. If everything appears fluid, and we can hear sound through the headset, we’re good to go!
Troubleshoot if Needed: If we encounter issues, reconnect the USB cable, or check for software updates. Let’s ensure everything works perfectly before diving into our virtual adventures!
Step 6: Explore and Enjoy!
Are You Ready to Enter a New Dimension?Now that everything is connected and tested, it’s time to explore the immersive worlds our AR VR headset offers. Let’s dive into engaging experiences and applications to boost our journey!
- Immerse in Games: Look for popular VR titles like “Beat Saber” or “Half-Life: Alyx.” These games are designed to draw us into dynamic environments where we can interact with our surroundings.
- Explore Educational Apps: Tools like “Google Earth VR” allow us to travel the globe or visit historical sites, making learning fun and interactive.
- Join Social VR Worlds: Platforms like “VRChat” enable us to connect with friends or meet new people in virtual spaces.
- Relax with Meditation Experiences: Try guided meditation apps such as “Tripp” that use soothing visuals and sounds to help us unwind.
Let’s put on our headset, choose an adventure, and embrace the possibilities waiting for us!

Congratulations! You’re All Set to Explore
Now that we’ve successfully connected our foldable AR VR headset to our PC, it’s time to enjoy the incredible experiences that await us in virtual reality. Let’s embrace the endless possibilities—what virtual worlds are we most excited to explore together?


I followed the steps, but I got stuck at Step 3. My headset wouldn’t connect to the PC. Any tips? 🤔
I had that problem too! Turns out I needed to update my USB drivers. Just a thought!
Good luck, Jason! Let us know how it goes!
Hey Jason! Make sure all your cables are securely connected and try restarting both your headset and PC. Let us know if that helps! 🤞
Thanks, Samantha! I’ll give that a shot! 😅
Honestly, I was skeptical about the AR/VR hype, but this guide made me a believer! 🙌 Steps were clear, and I loved the encouragement at the end. Can’t wait to explore some new worlds! Any recommendations for newbies?
So glad to hear you’re excited, Nina! For newbies, I recommend starting with some casual games like Beat Saber or VRChat. They’re super fun! 🎉
Totally! Also, keep an eye out for any free demos. They’re a great way to test things out before buying!
Thanks for the tips! I’ll check those out. 😄
I’m not tech-savvy at all, but this guide was easy to follow. I managed to install everything without breaking anything (yay)! 🌟 Just a heads up, though. The software took a while to install. Is that normal?
Totally normal! Just be patient, good things come to those who wait! 😂 What are you planning to do with your headset?
Glad to hear it, Michael! Yes, sometimes installations can take a bit, especially if there are updates. But it sounds like you’re all set!
I’m still waiting for my headset to arrive, but I’m hyped to try this out! 🎮 Any advice while I wait?
You could look for some games to download in advance! That way, you’re ready to dive right in.
Hey Chris! Make sure your PC meets the headset’s requirements, and maybe check out some tutorials on what to expect! It’ll make your experience smoother! 😊
The guide is good, but I think it could use a few more visuals. I’m a visual learner, and I got a bit lost in Step 4. Otherwise, it’s helpful!
Thanks for your feedback, Sarah! We’ll consider adding more visuals in the future. What part in Step 4 did you find tricky?
I agree! Some screenshots would definitely make it clearer. But I managed anyway. Just took some trial and error! 😅
The settings were a bit overwhelming without visuals. But I figured it out eventually!
This guide is super helpful! I was totally lost trying to connect my headset before. The step-by-step breakdown made it so much easier. I can’t believe I finally got it working! 🎉 Also, the tips on adjusting settings for performance were spot on. Thanks! Now it’s time to explore!
Awesome! I had the same issue before, but this helped me a lot too. What games are you planning to try first?
Thanks, Amy! So glad to hear it helped you! Enjoy your adventures in AR and VR! 😄